Gourmet Chocolate Bark
my bark is better than my bite.
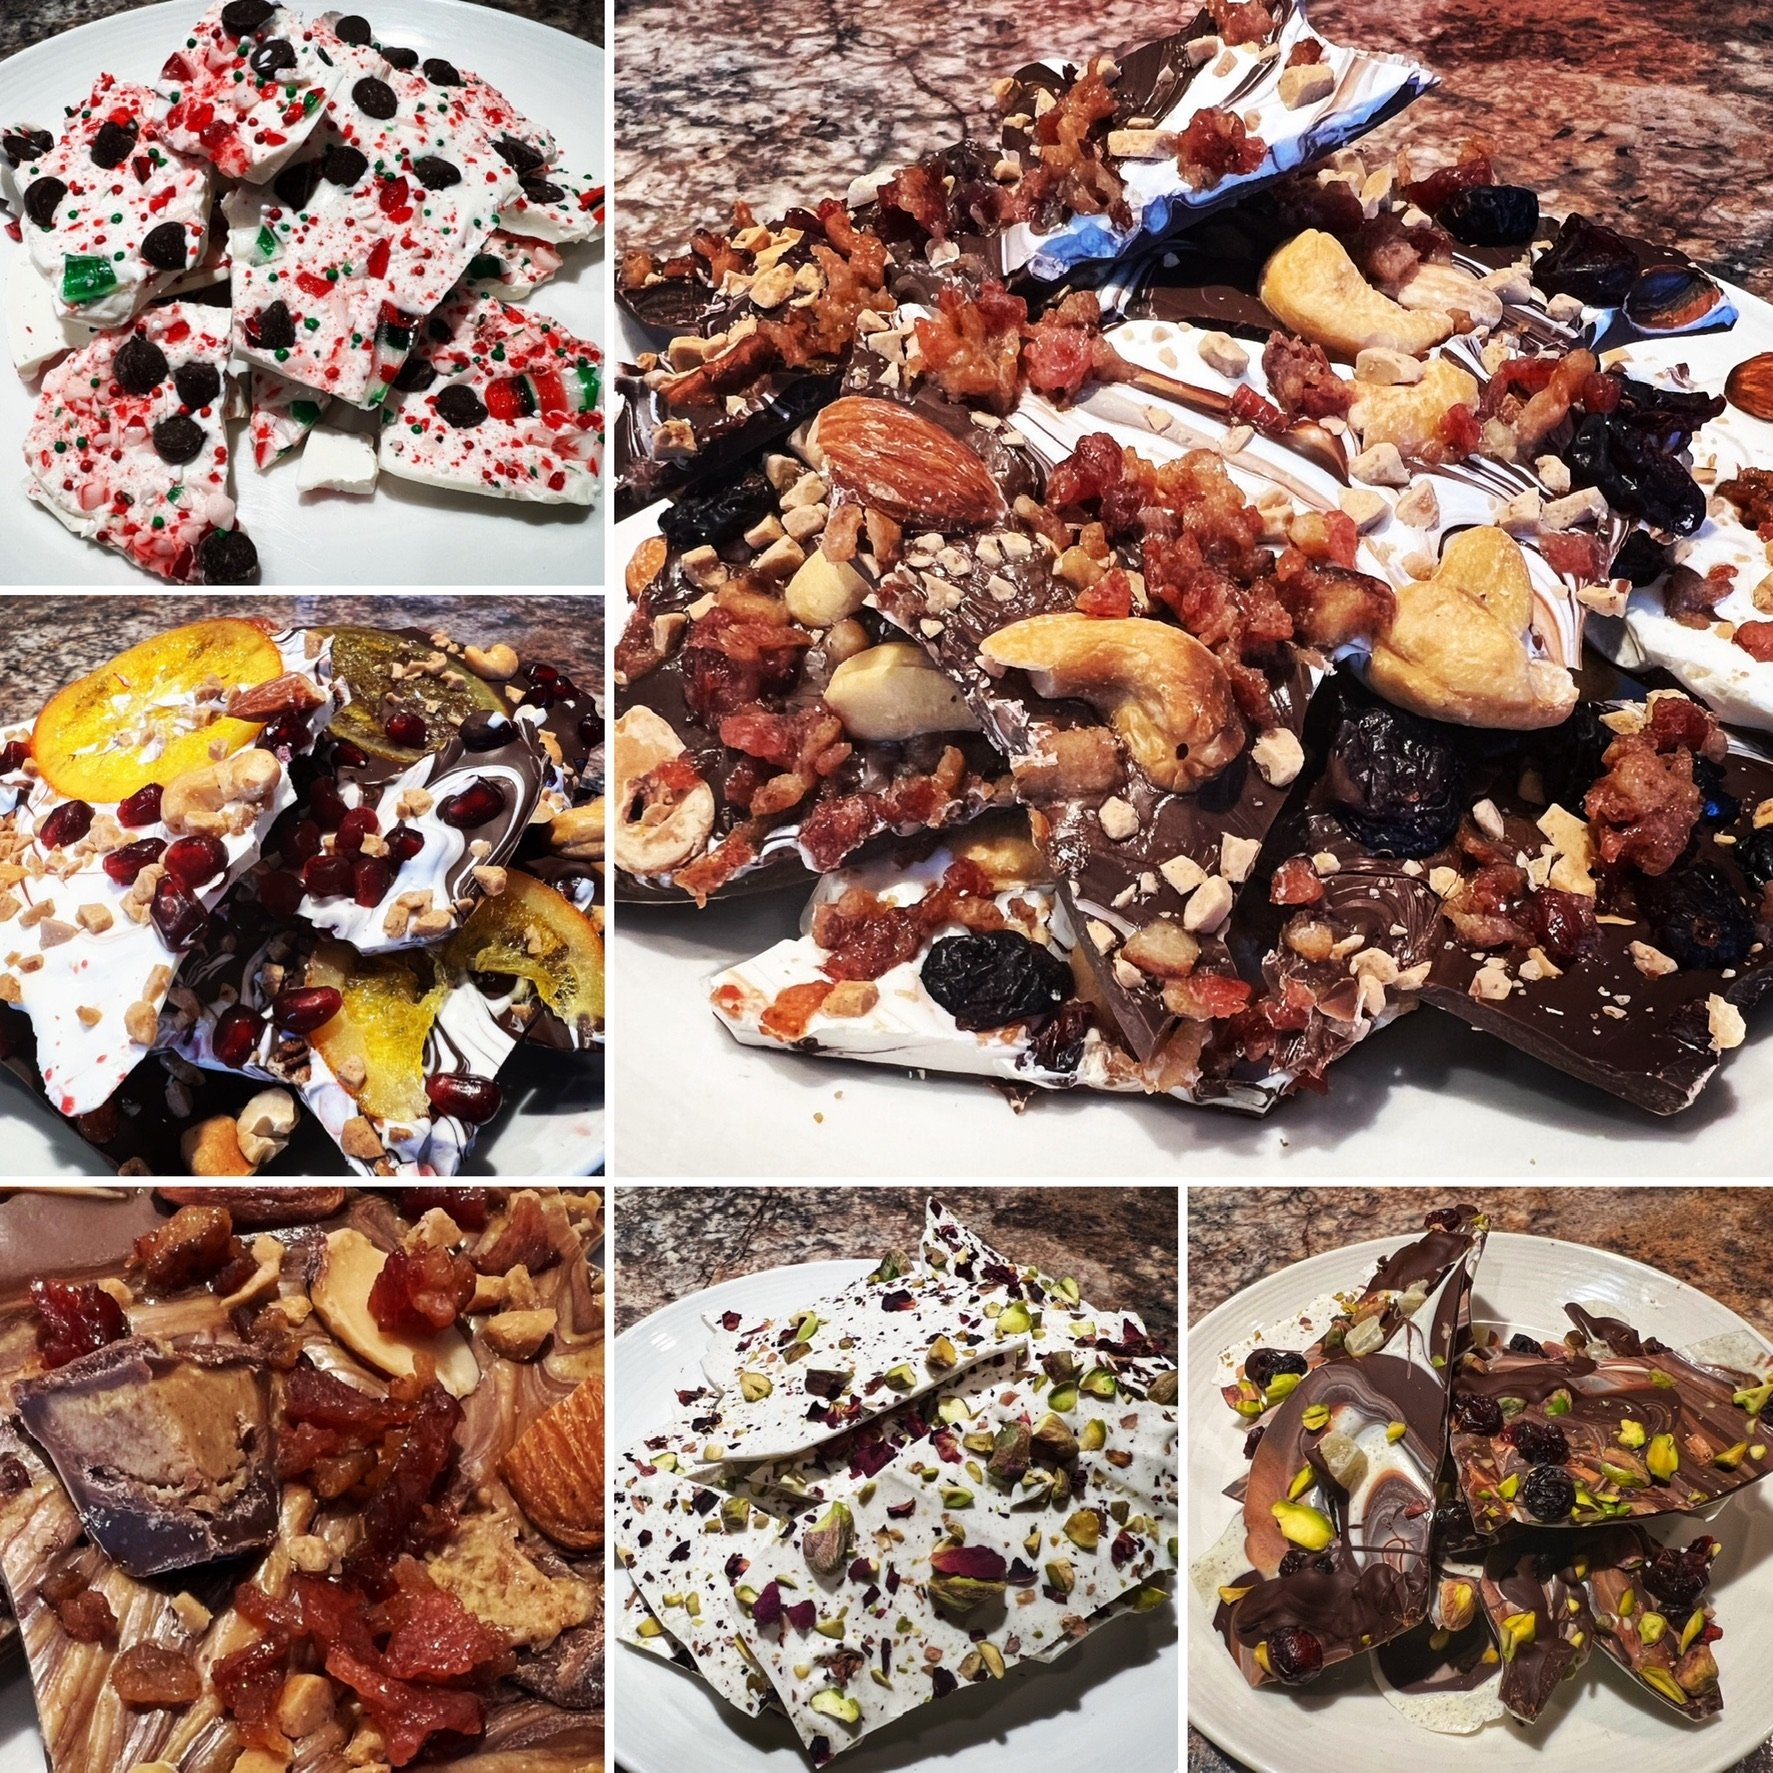
The possibilities of chocolate bark are limited only by your imagination and your creativity — and maybe your baking pantry staples.
The great thing about chocolate bark is that there’s really no wrong way to make it save melting your chocolate properly. I prefer to use my microwave at half power to soften the chocolate melts, but a double boiler works great, too. I also find chocolate chips don’t melt as easily— it may have something to do with a coating meant to keep them intact for cookies and such.
My best advice is to mind two tips: 1) Be sure not to introduce any water —even the smallest amount from a damp bowl or wet utensil — otherwise your melted chocolate could seize up. 2) Turning the heat up to speed up the process is never a good idea. Overheated chocolate will be become thick and lumpy, so be patient and follow the ‘low and slow’ heating method I’ve outlined. In case things go awry, I’ve also included rescue tips below. Take your time, have fun, and explore the possibilities. — CFG
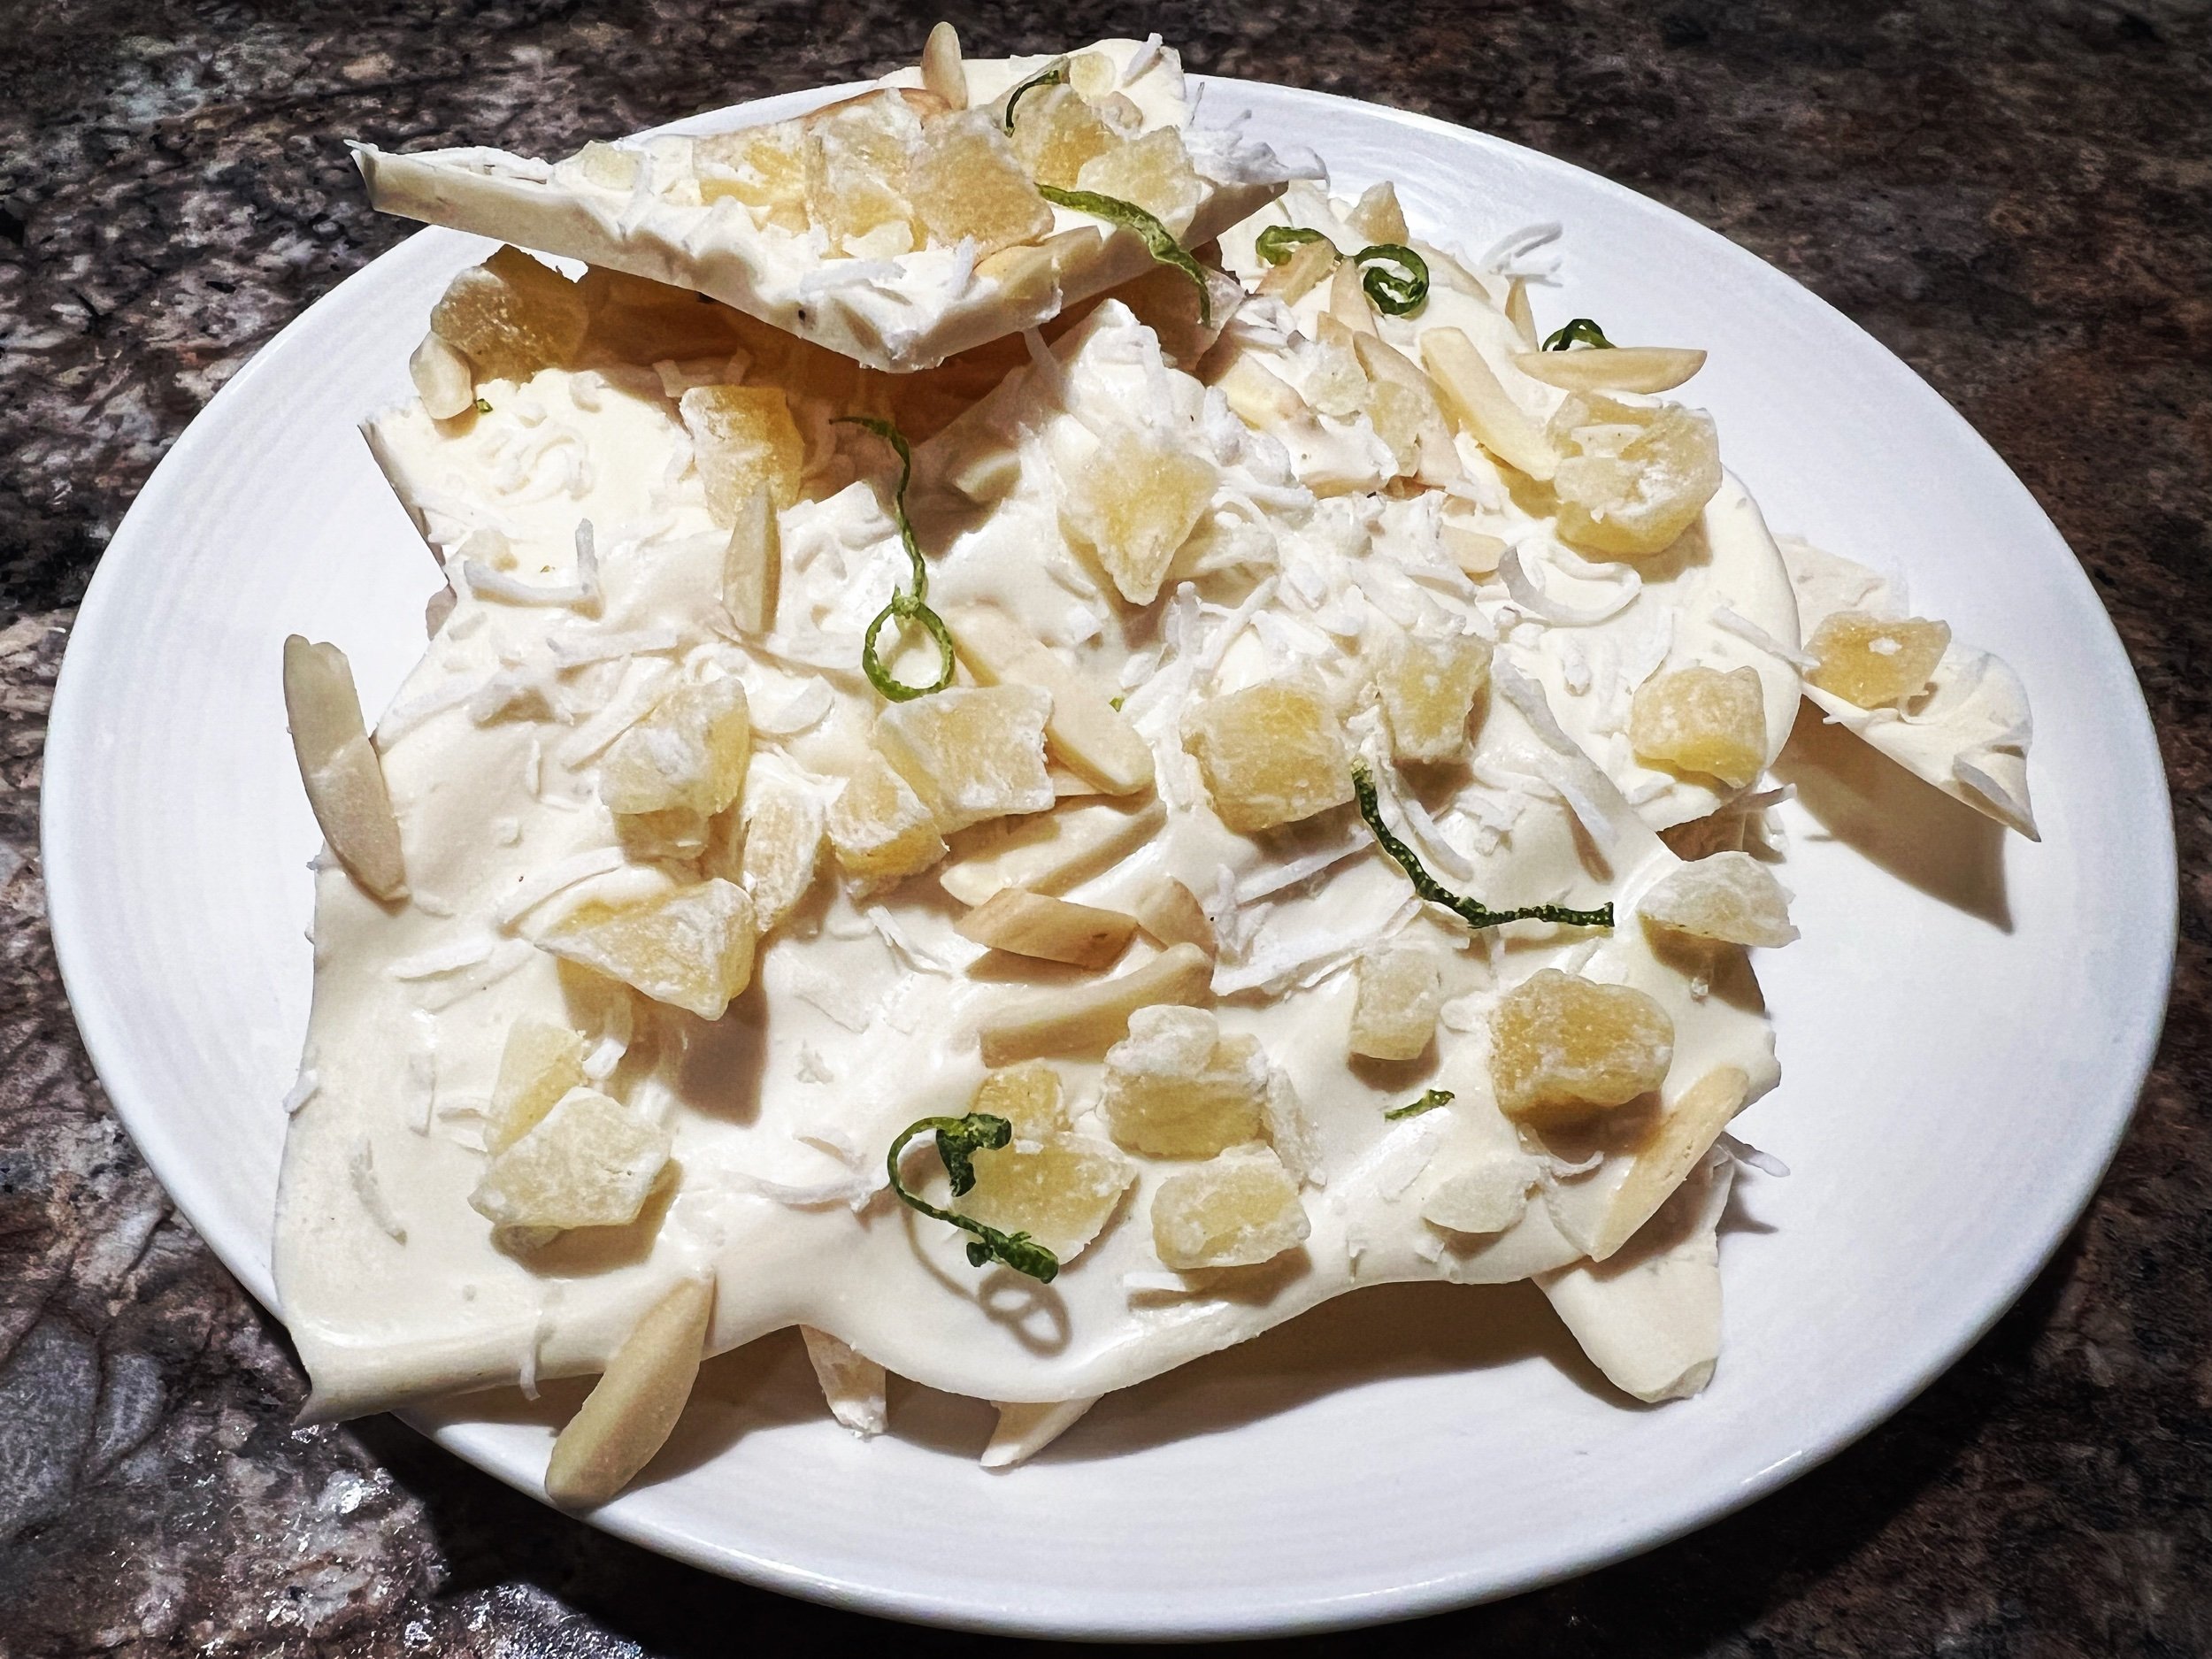
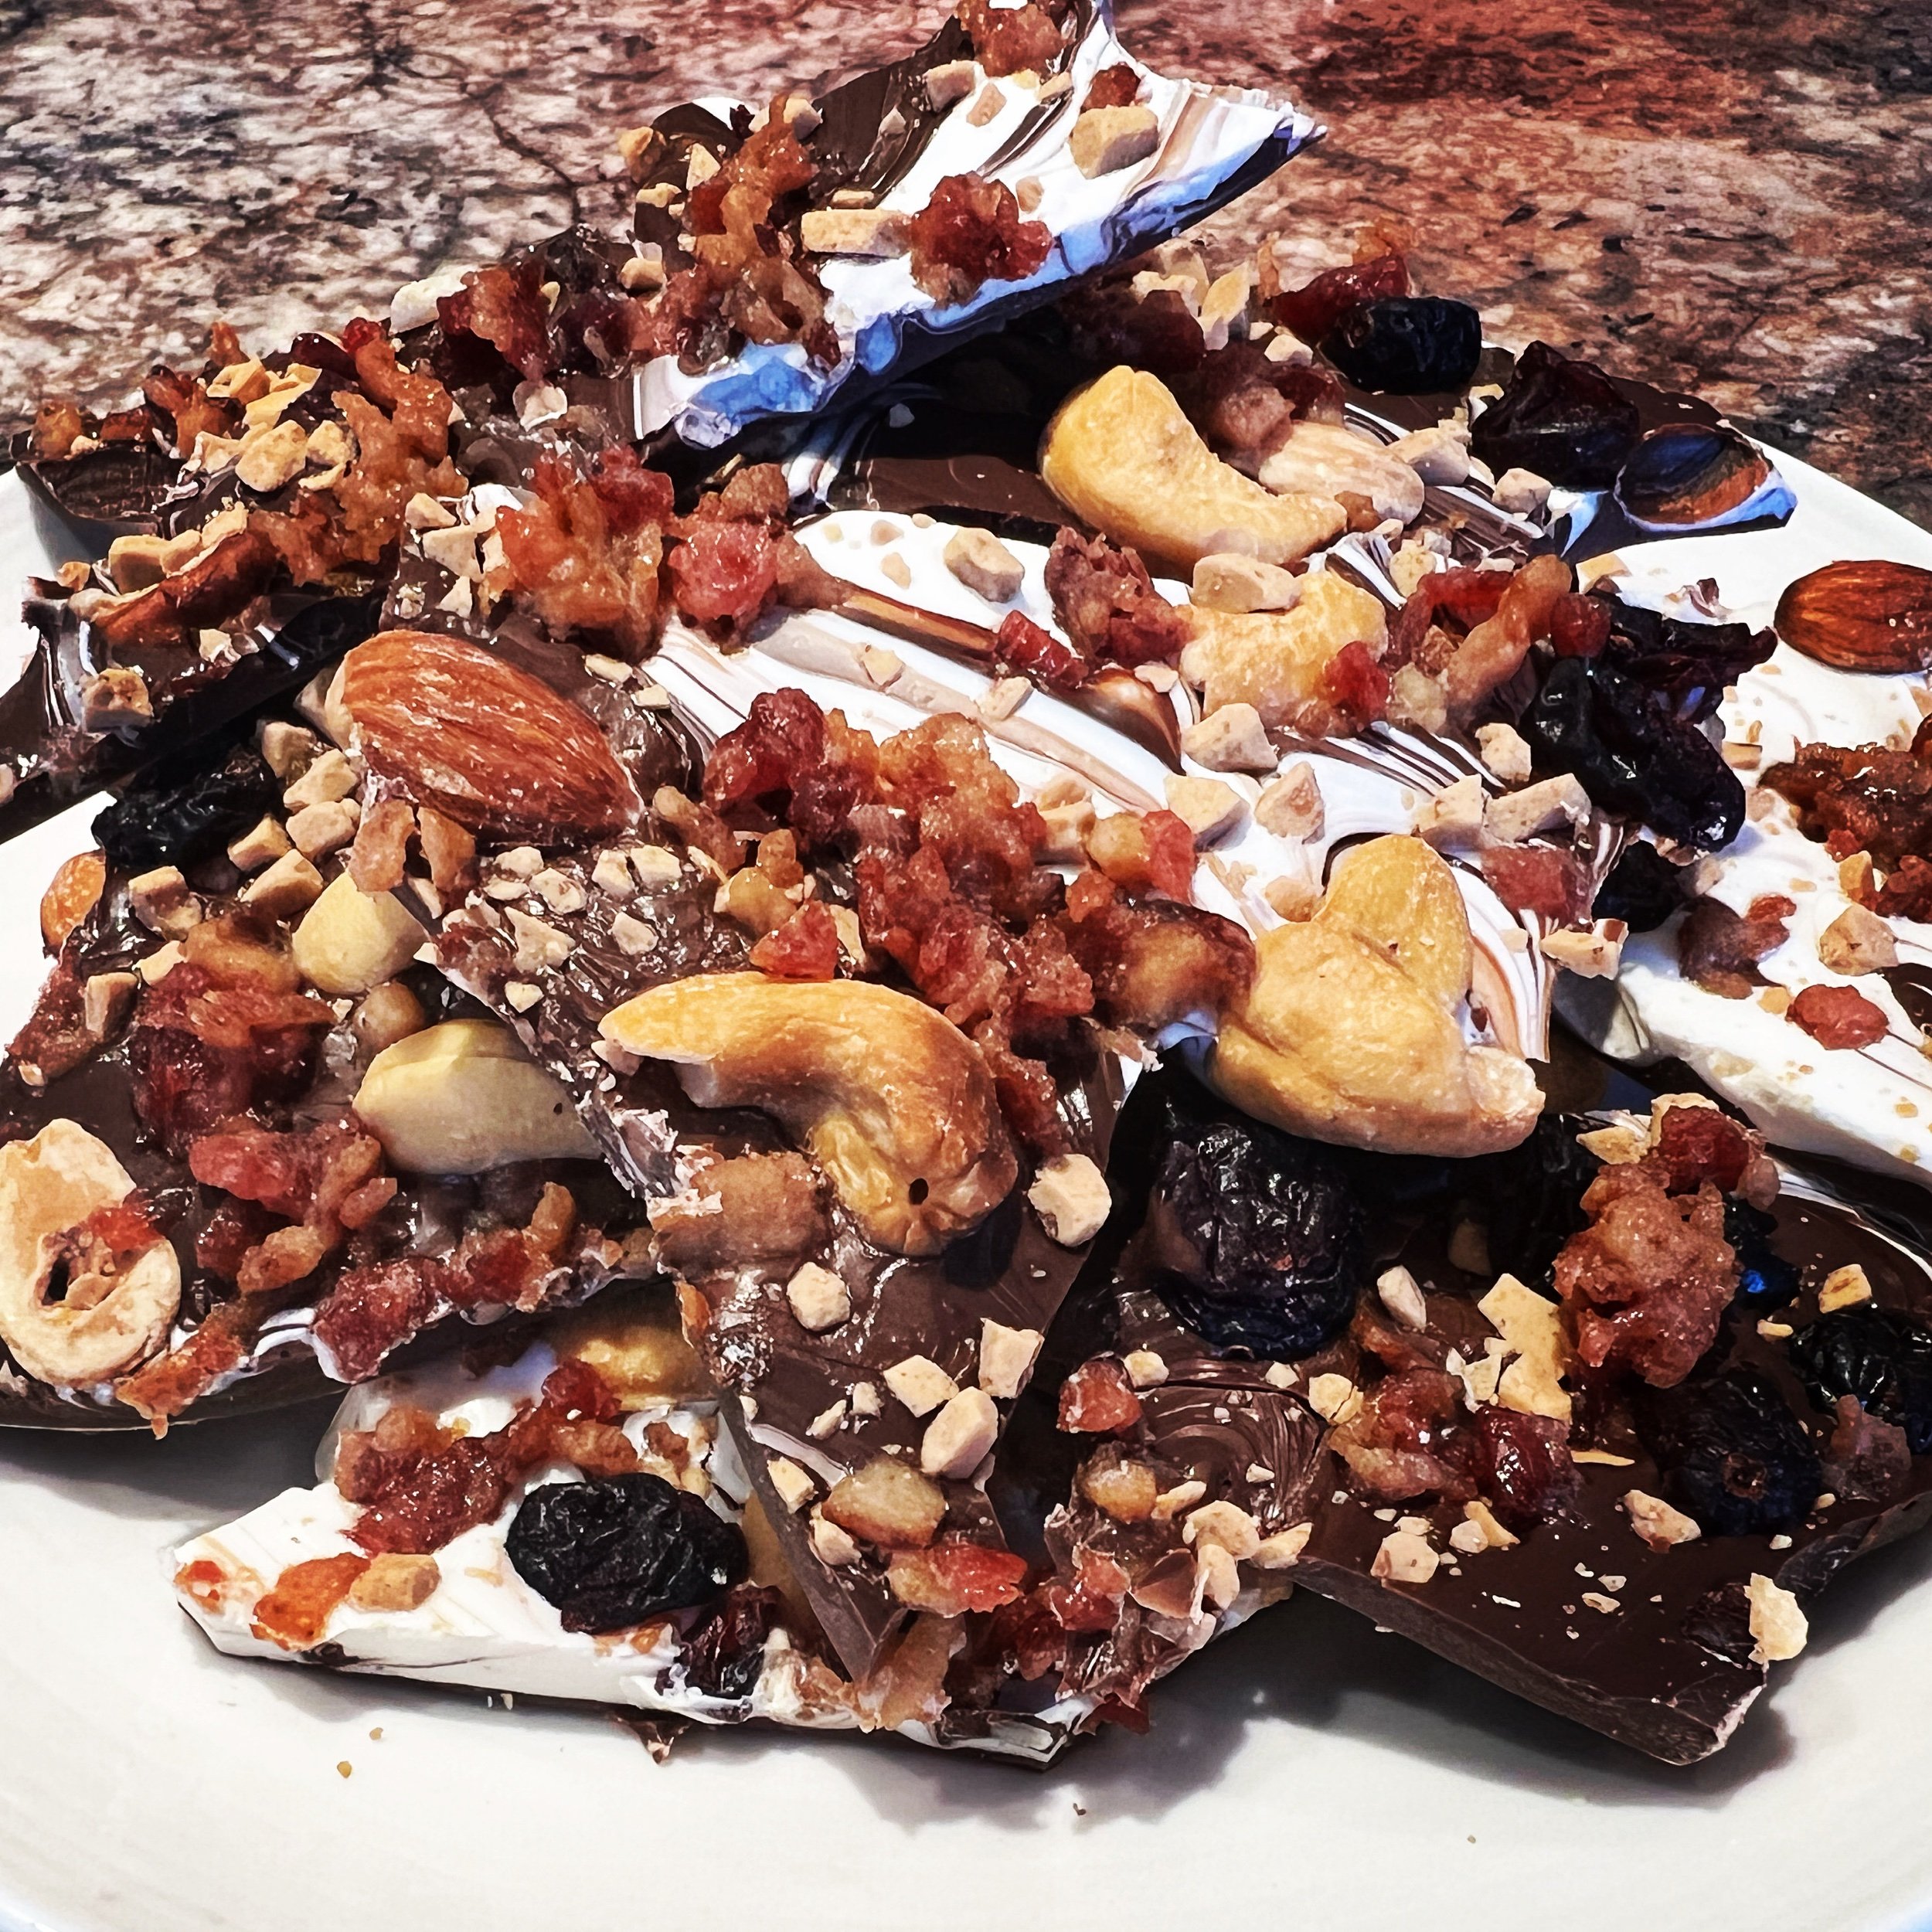
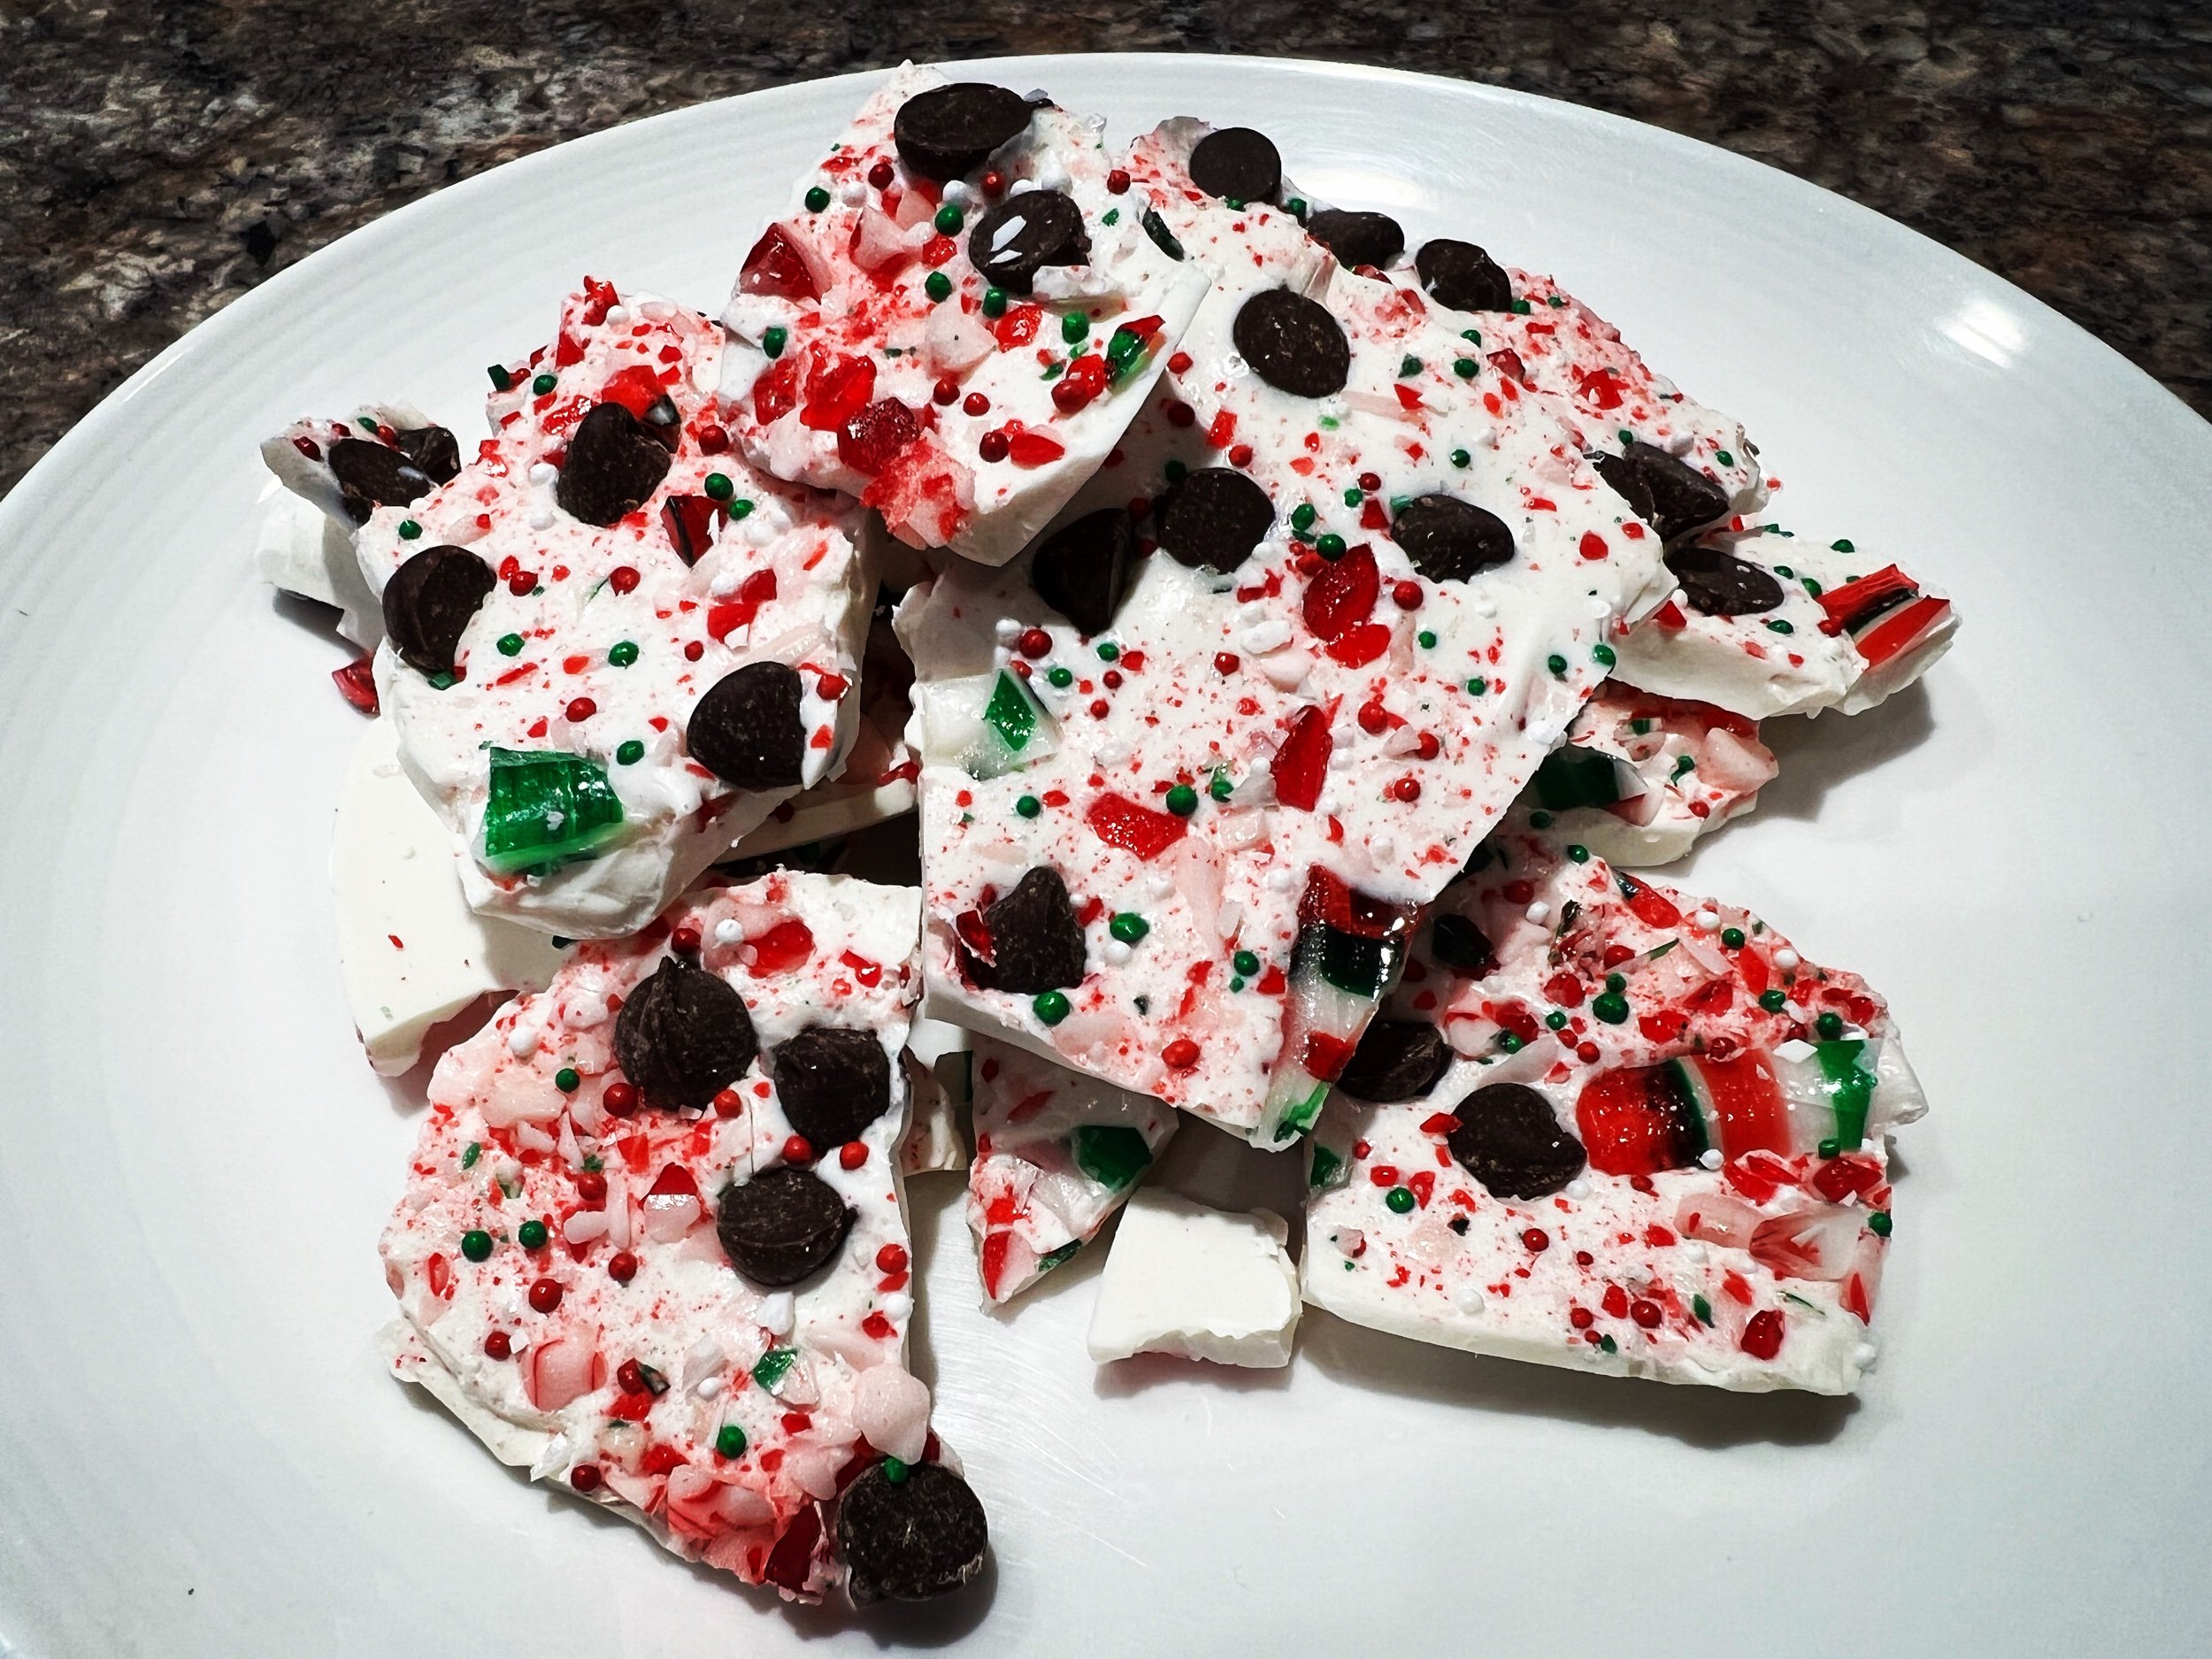
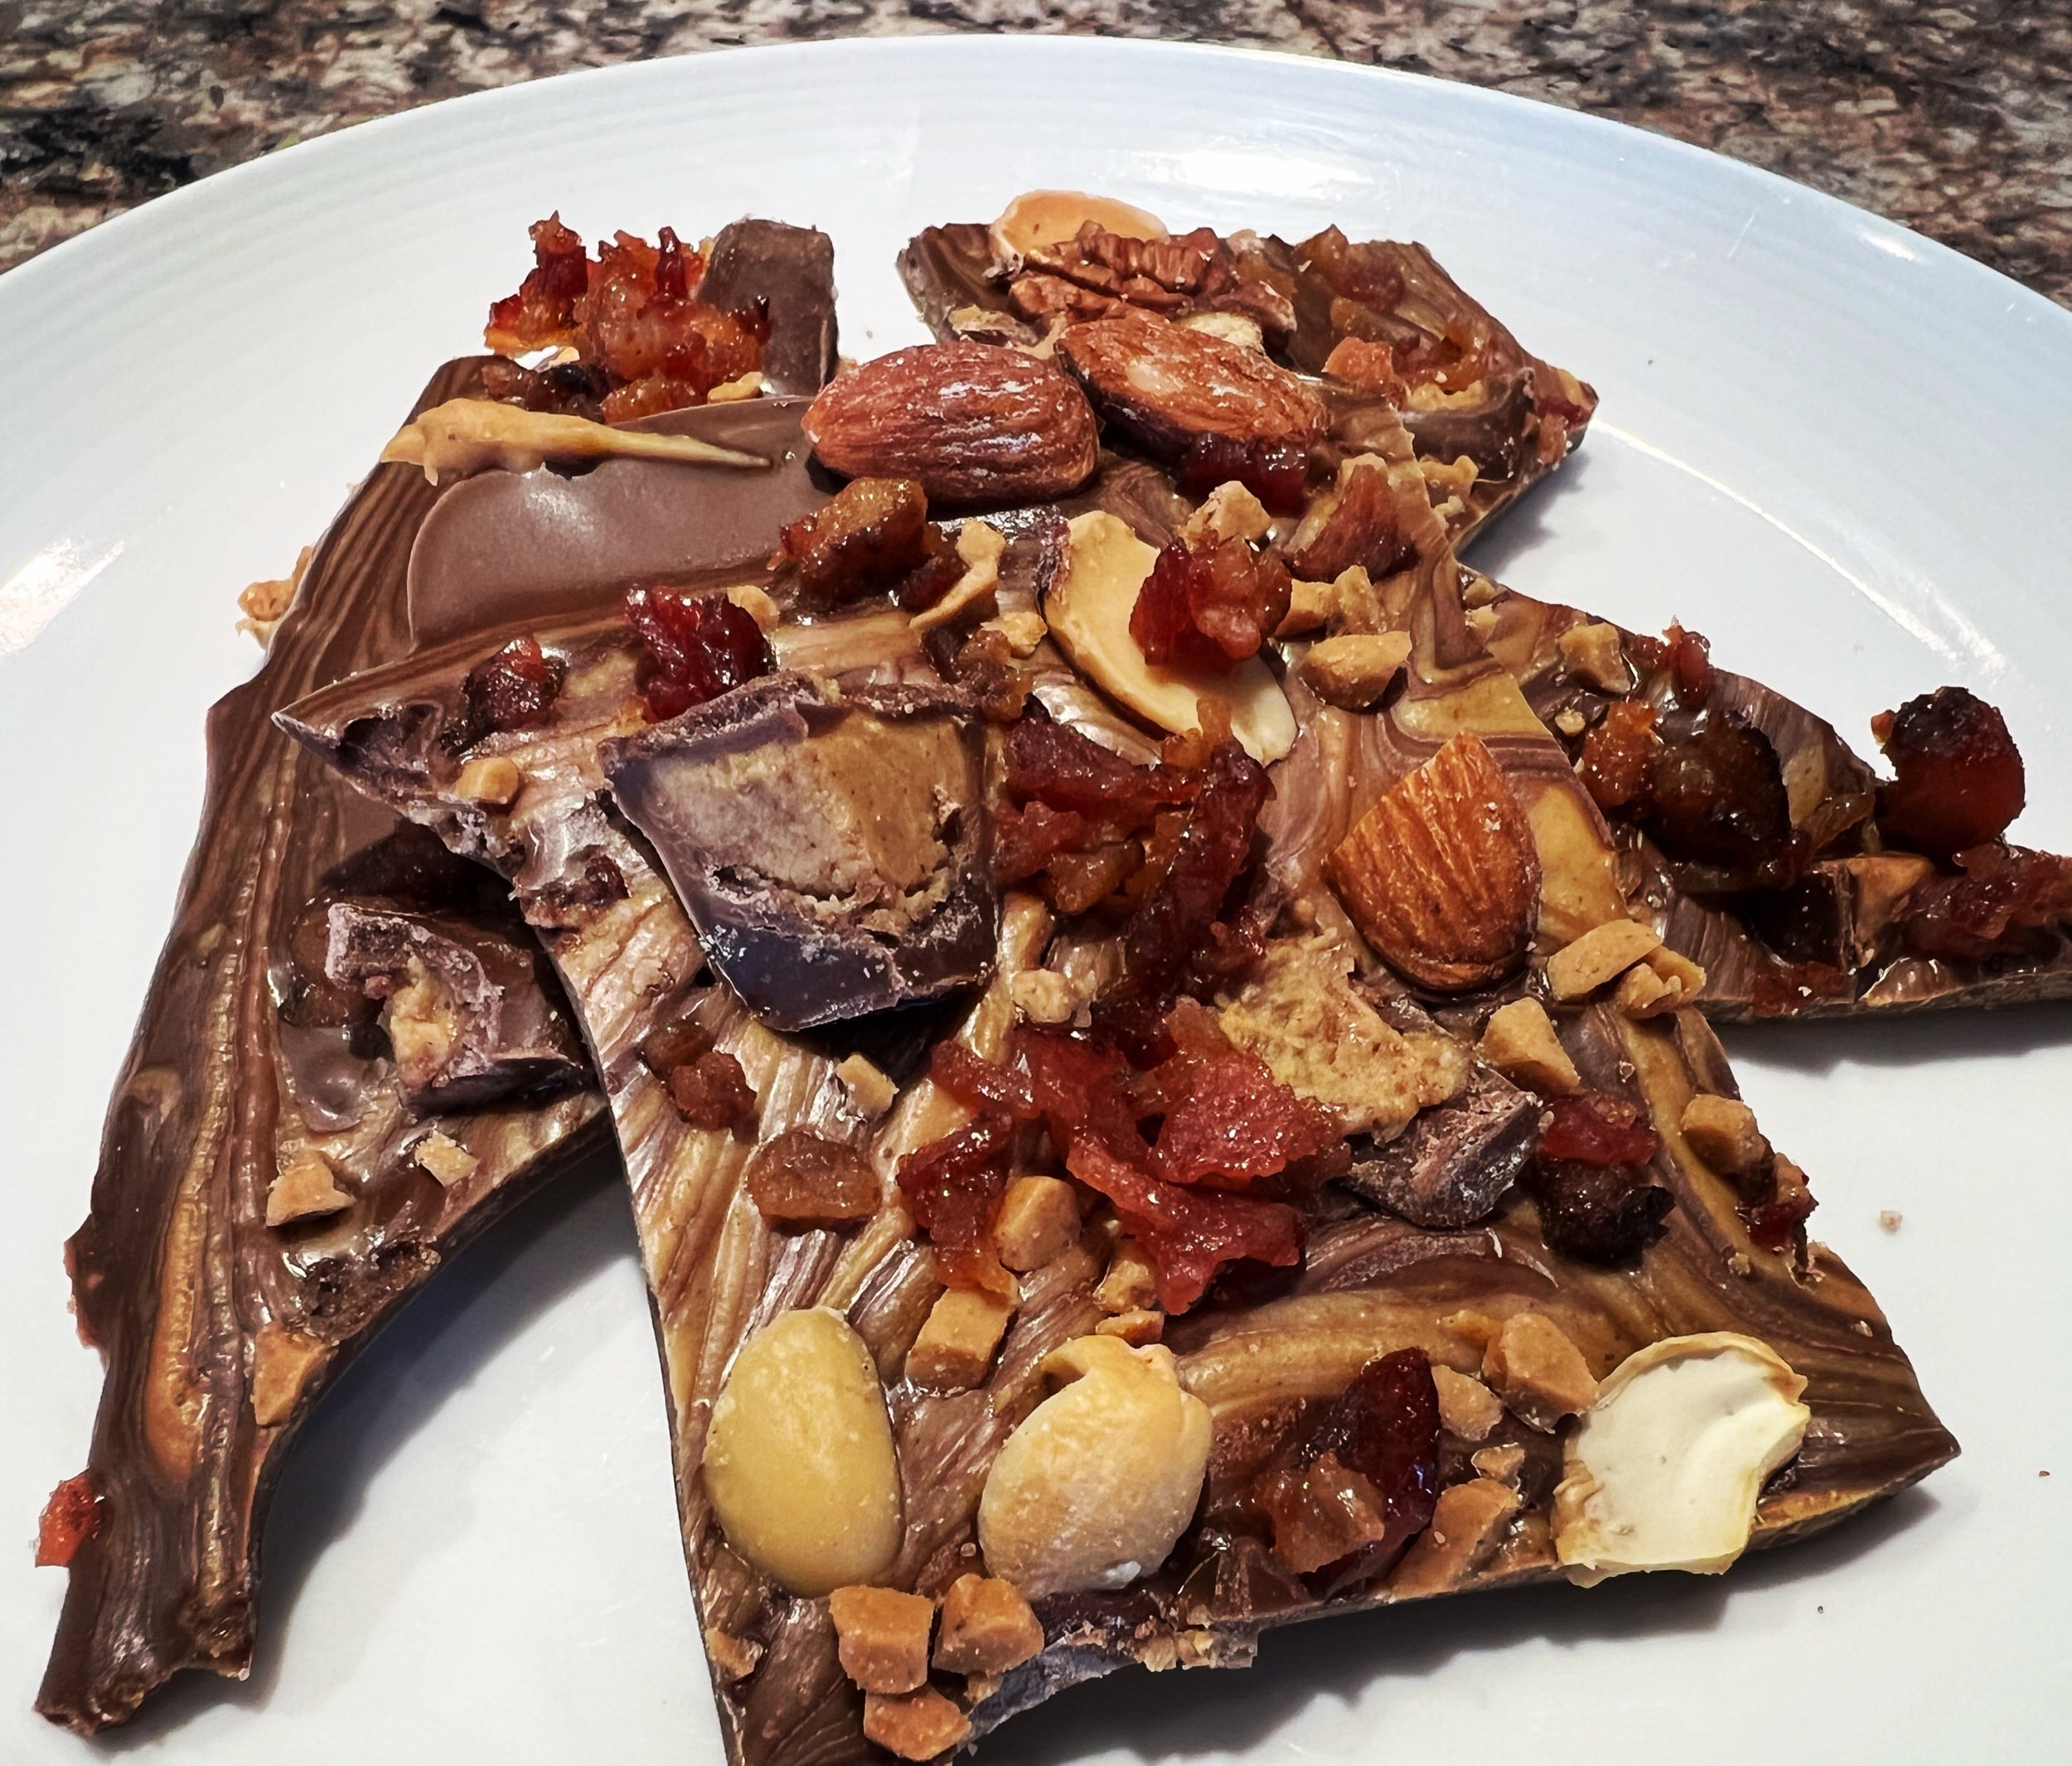
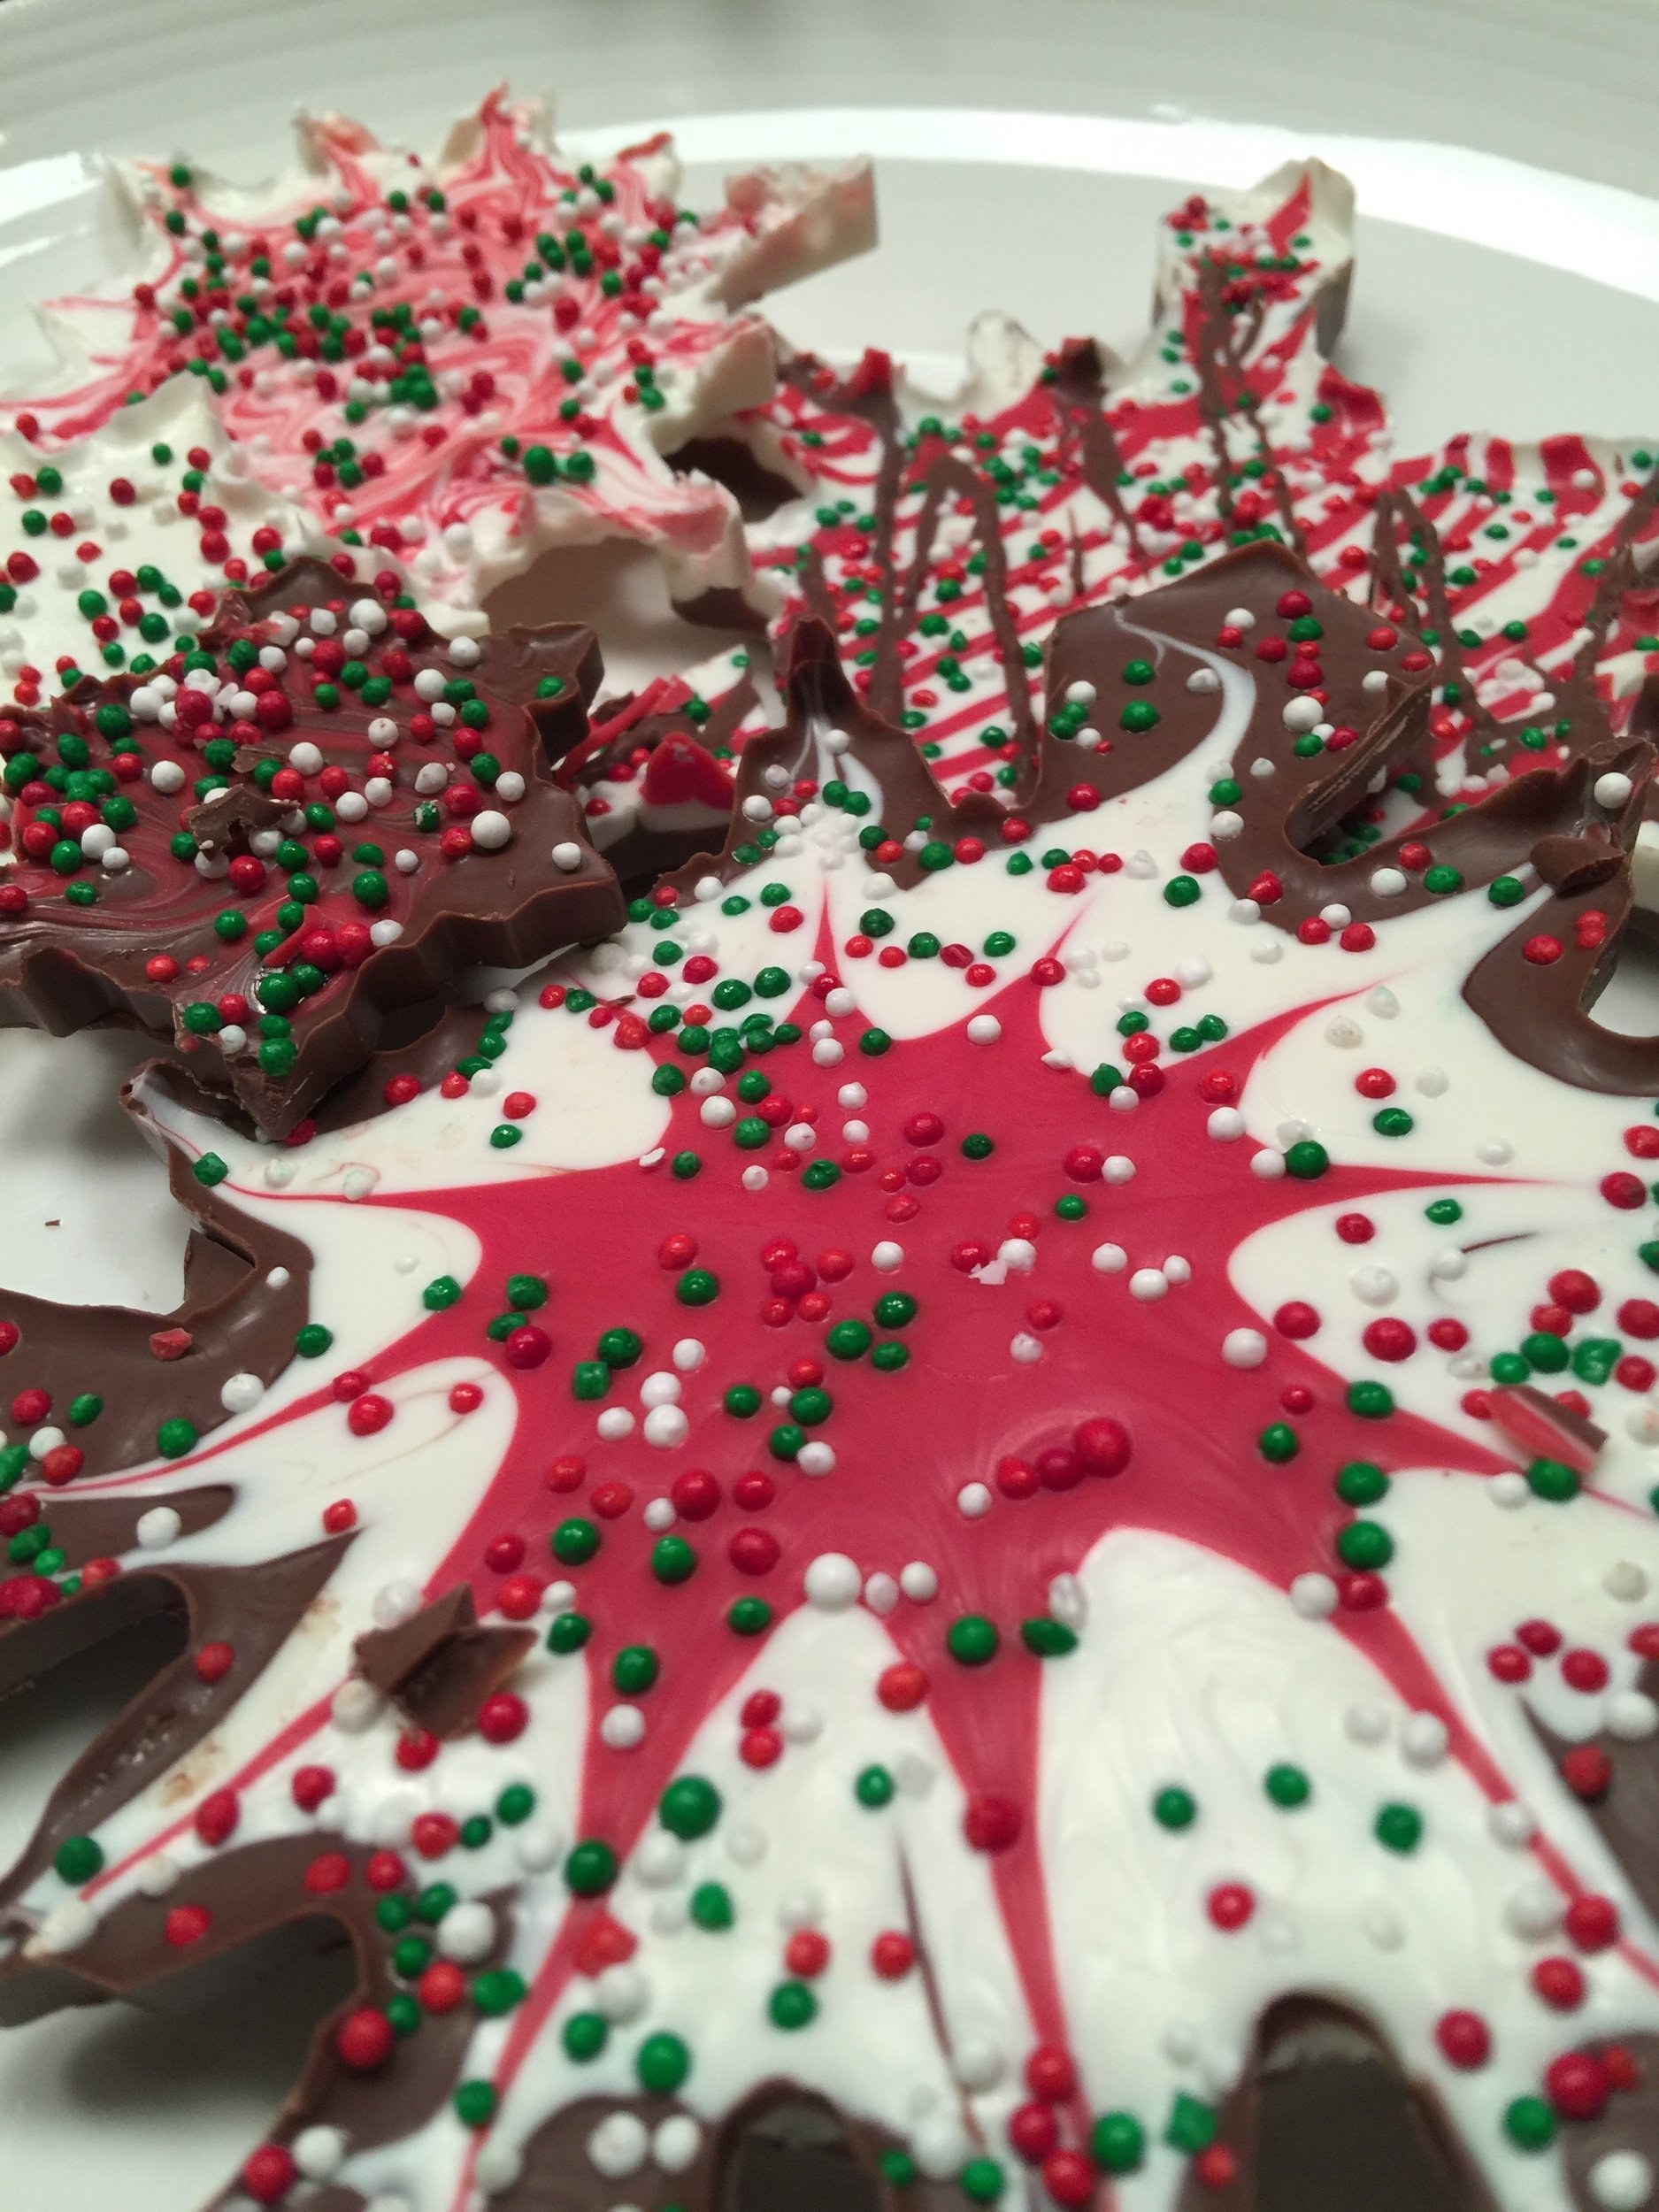
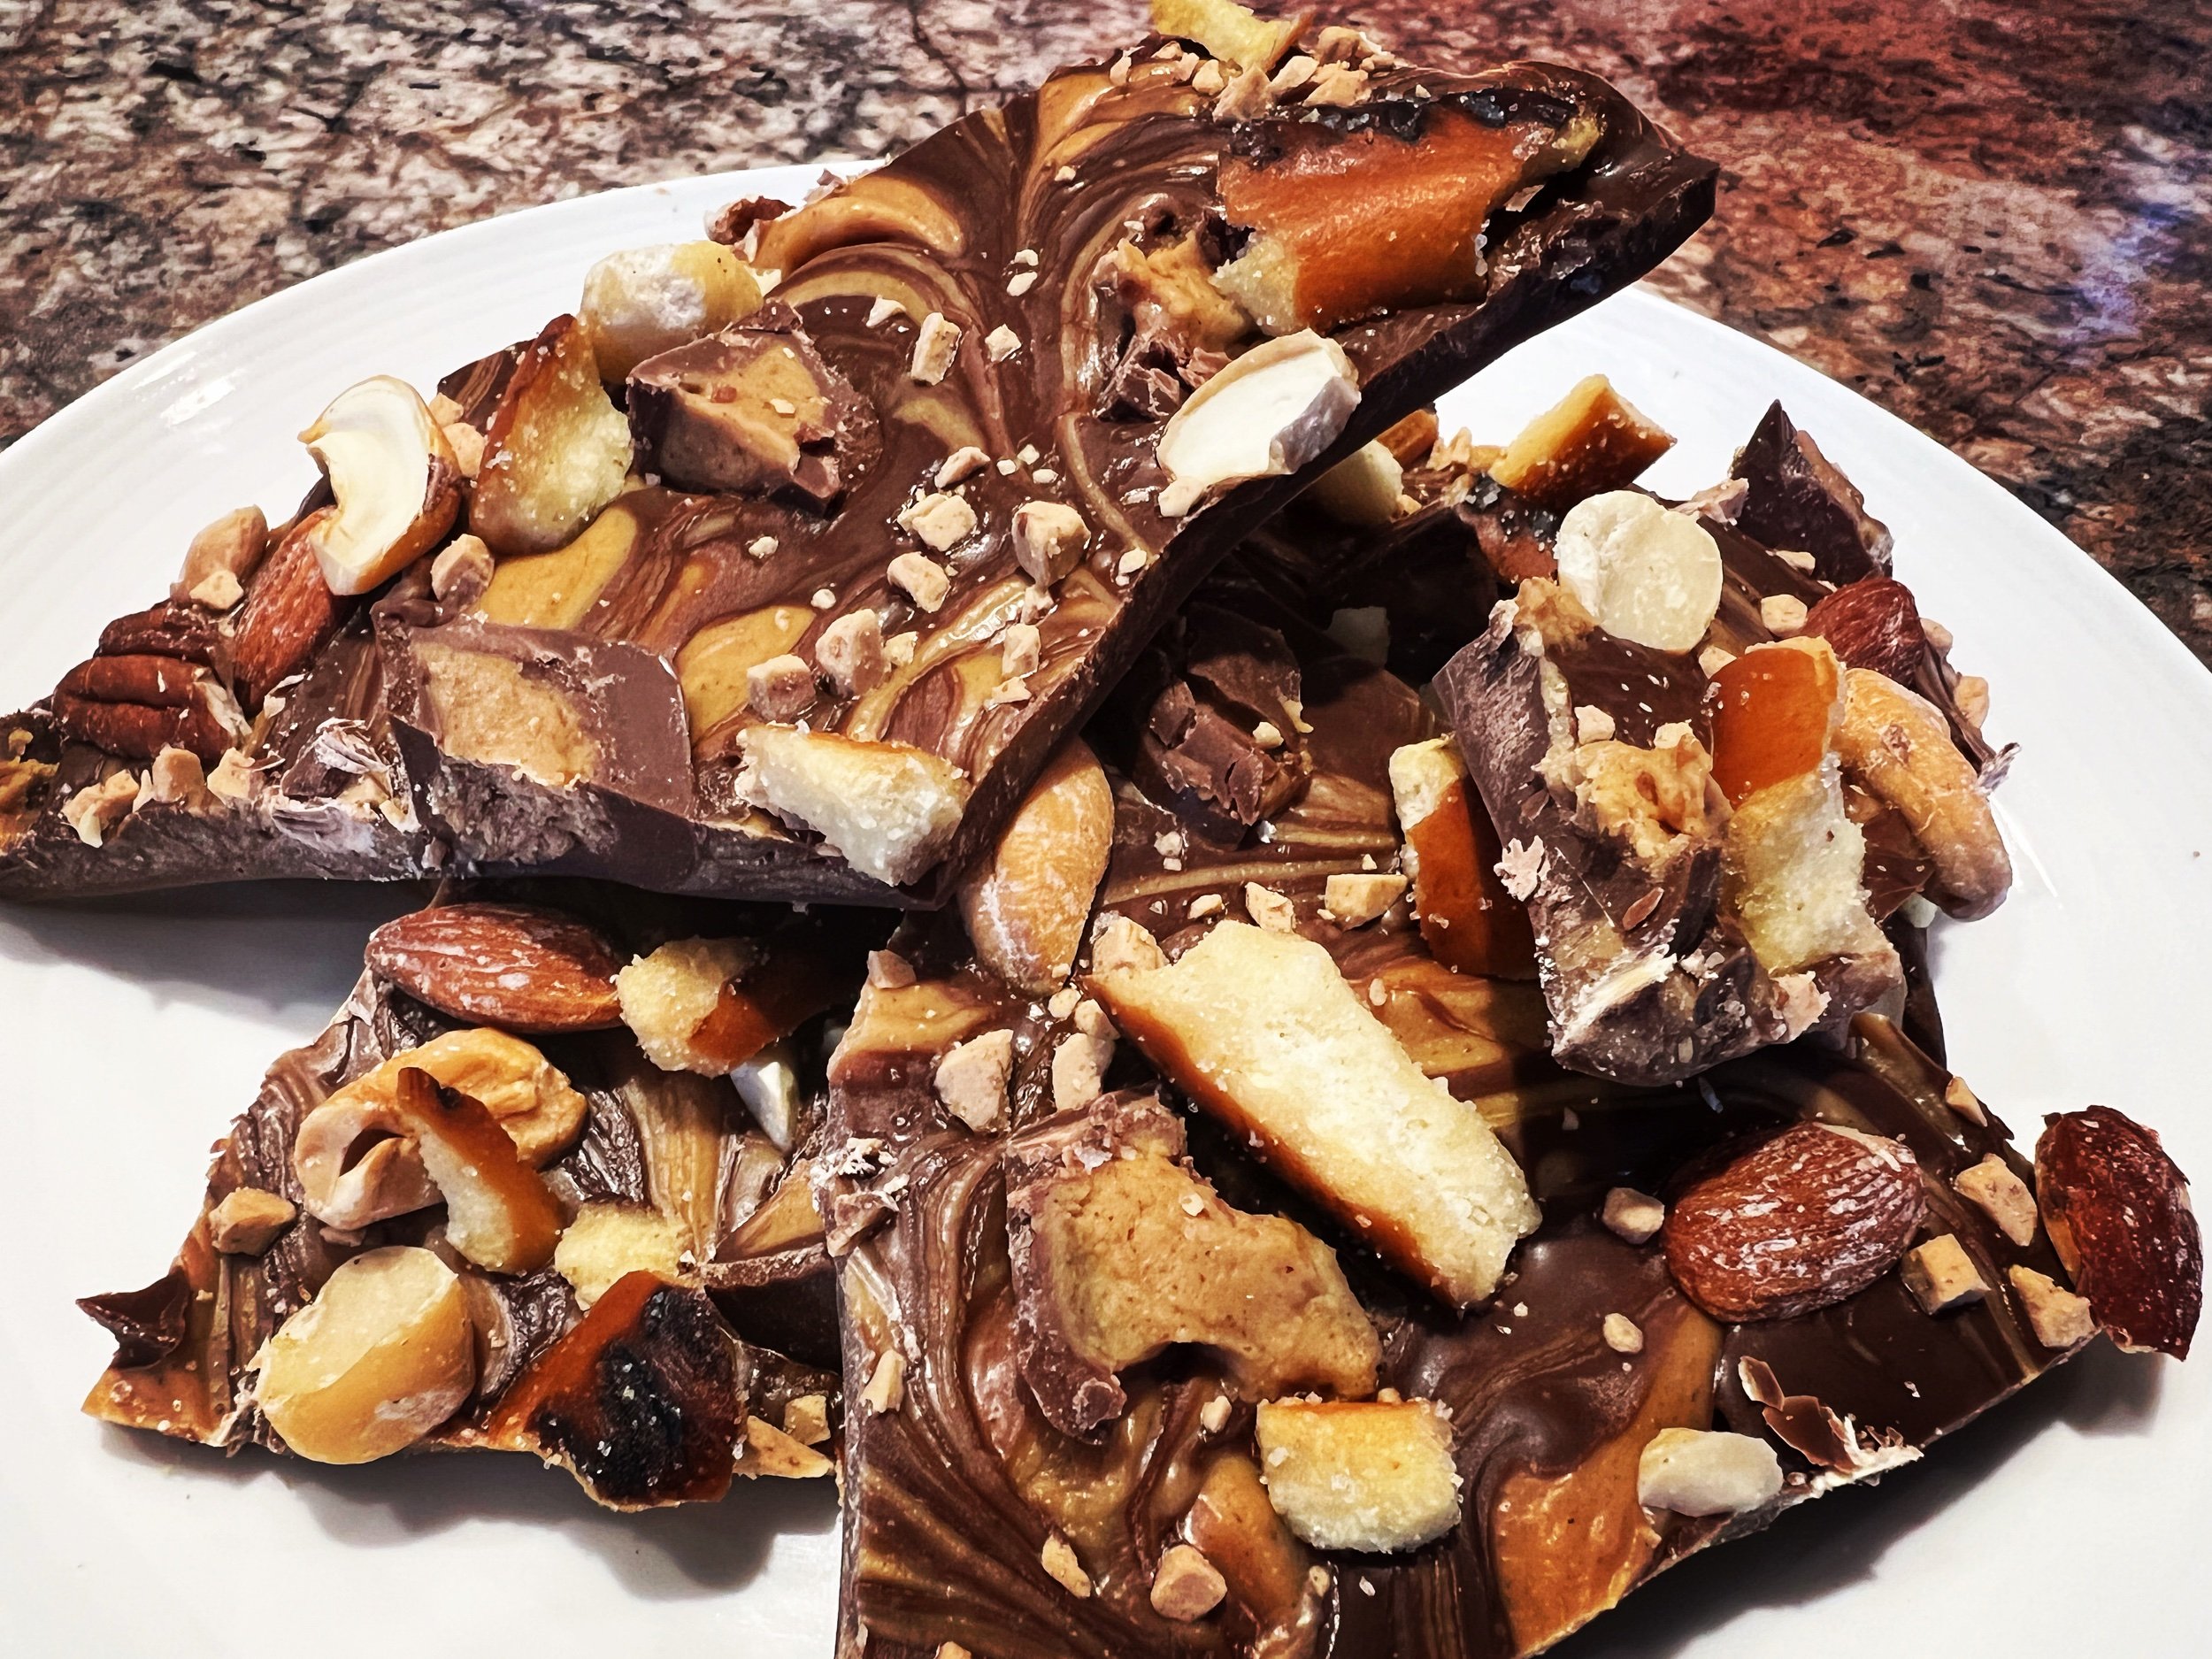
Bark Ideas
Directions
Prepare a large baking tray (~ 14” x 16”) with a sheet of parchment paper and set aside. Have your toppings ready near the prepared baking tray so you can easily access them once you pour and spread out the melted chocolate.
Place ~3 cups of chocolate melts in a microwave safe bowl and warm for 1-2 min on half power.
Halfway through the cooking time, stir the melts with a chopstick or other narrow utensil. (I use a chopstick to reduce the waste on a spoon or large spatula.)
Once the cooking time completes, stir the chocolate again. Repeat the cooking process 30 seconds at a time (being sure to lower the power by half assuming the microwave resets itself). Be careful as your bowl may become hot and require an oven mitt to handle.
Once the chocolate is mostly melted, remove the bowl from the microwave. Use your stirring utensil to mix the chocolate and let the the residual heat melt the remaining bits of chocolate.
If you use more than one type of chocolate (or even a butterscotch or peanut butter melt) for a marble bark, melt the second batch of chocolate repeating steps 2-5.
Transfer the melted chocolate onto the middle of the parchment lined baking tray. Using an offset spatula, evenly spread out the chocolate to about 1/4” thickness.
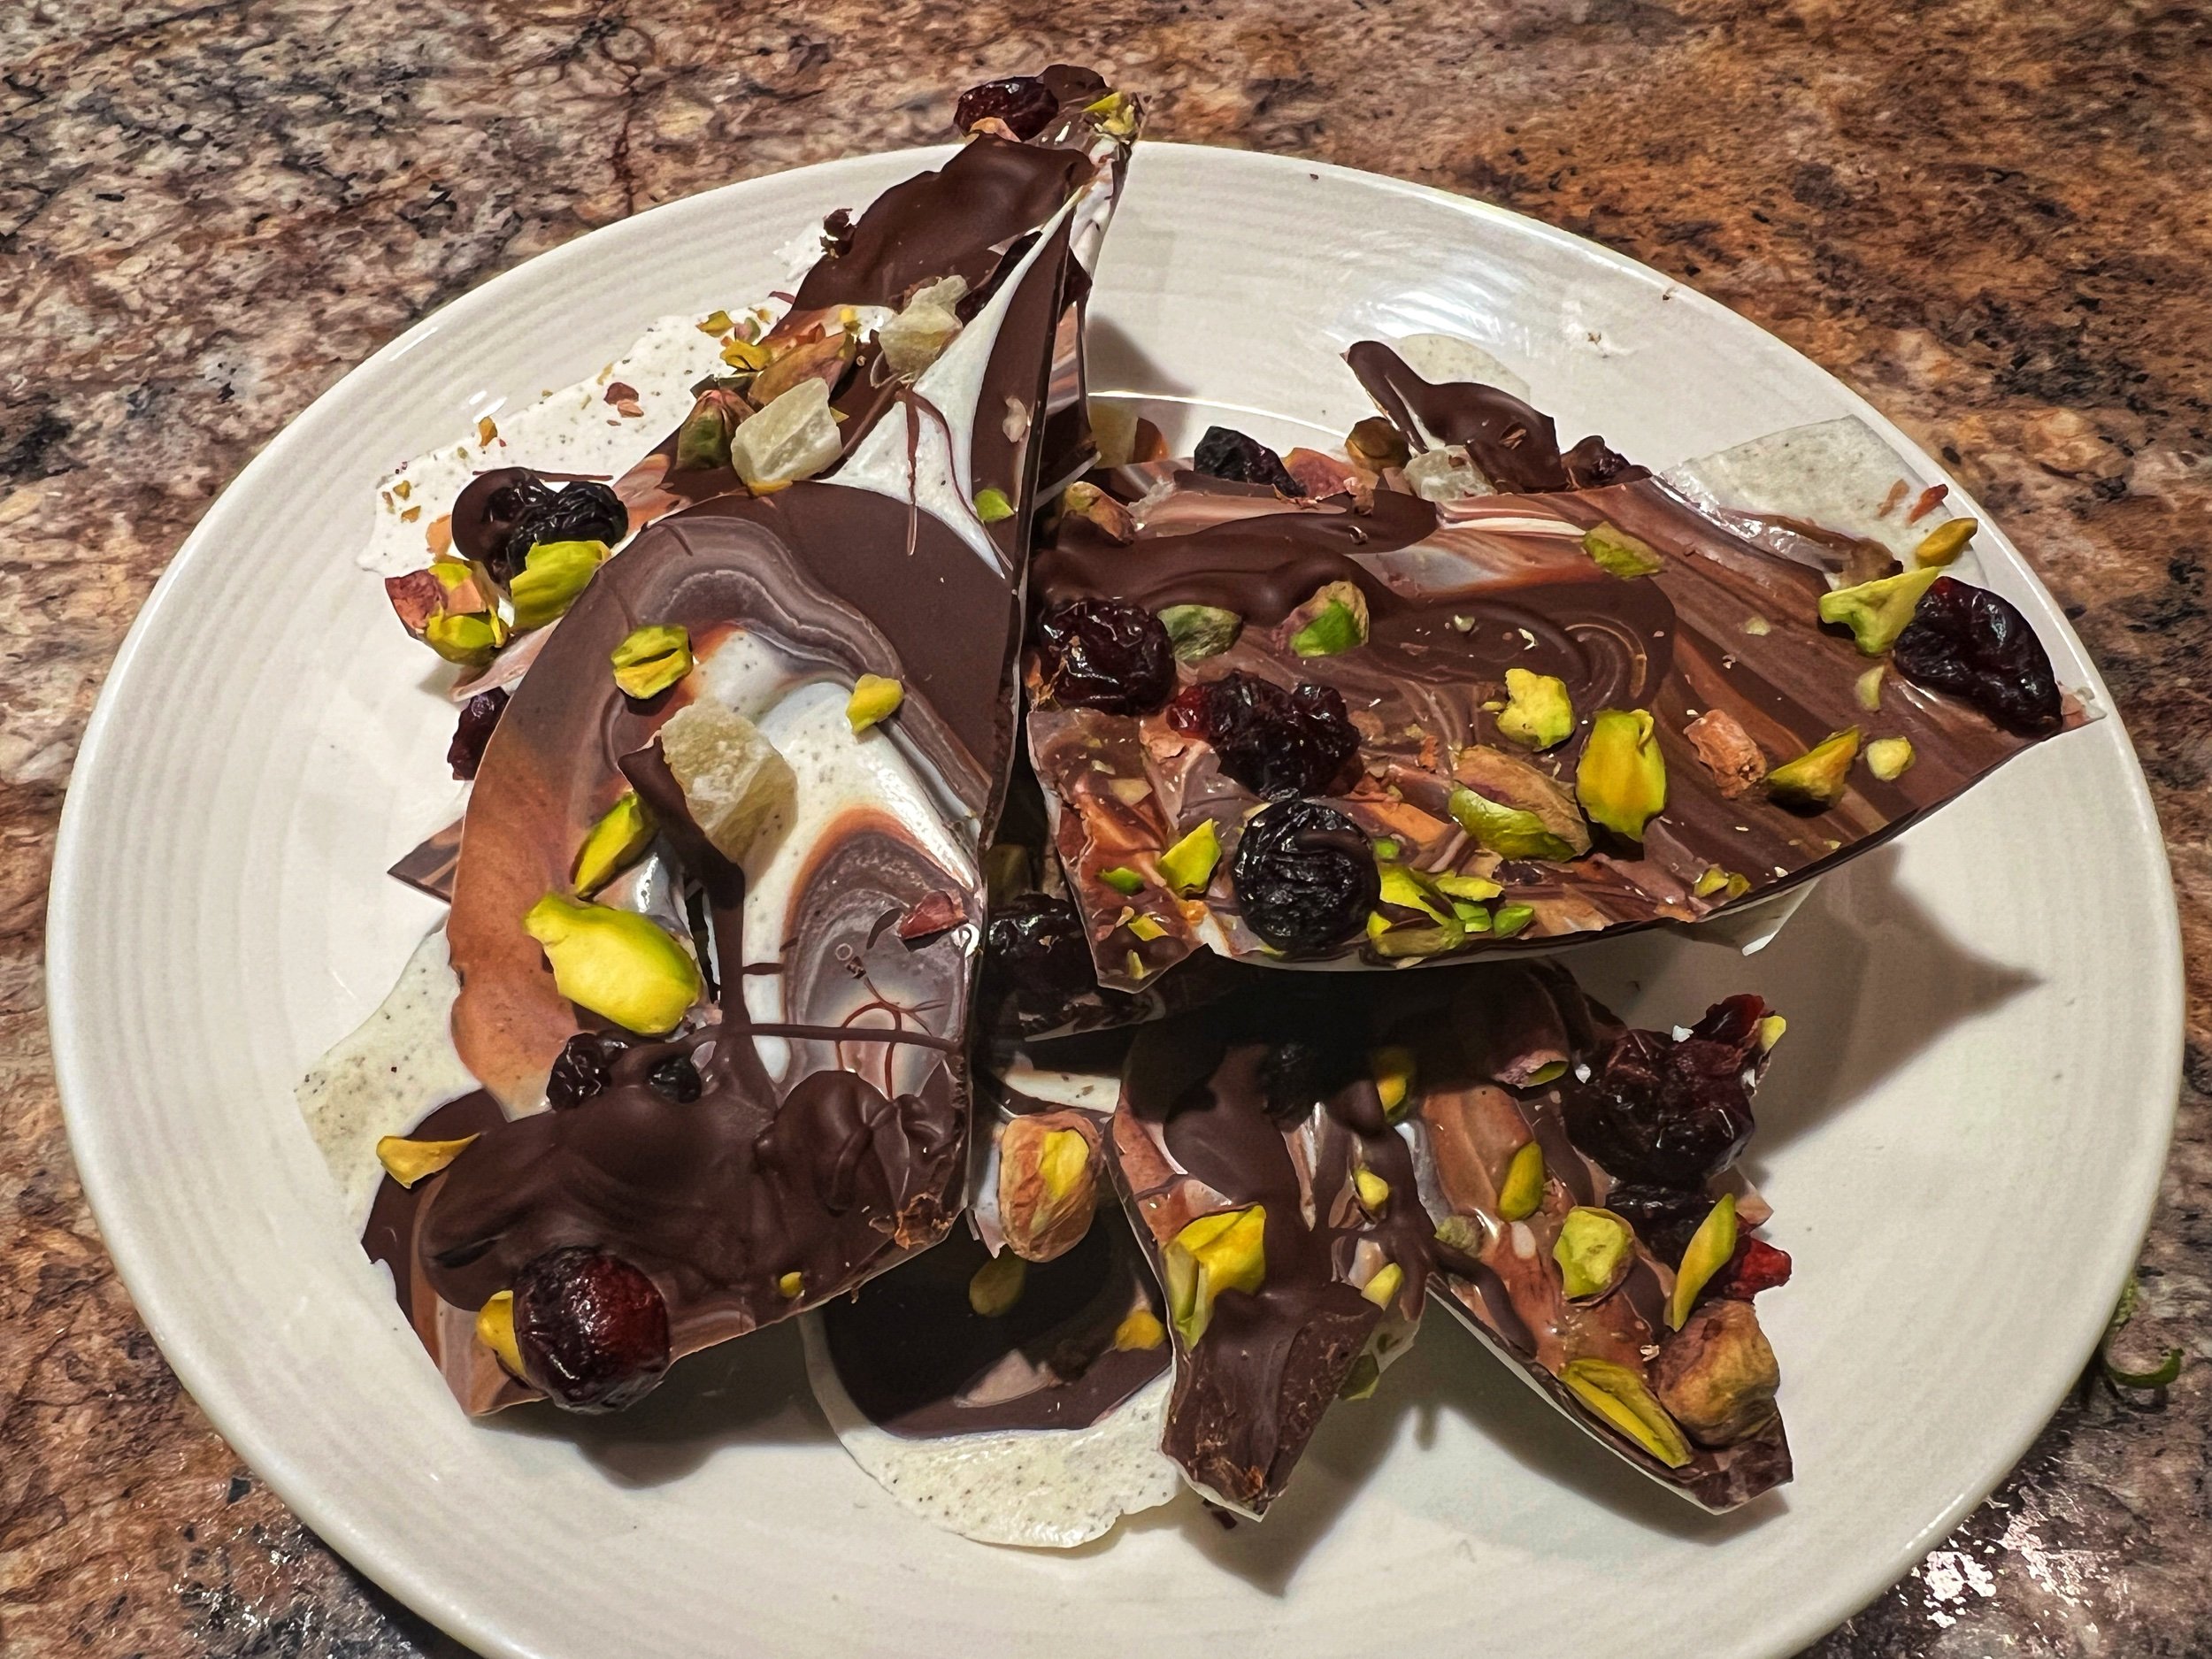
For a marble bark, pour 3-4 pools of the second chocolate onto the main chocolate. Using a chopstick or other narrow utensil, drag the secondary chocolate into the main chocolate to creat a marbled pattern. Don’t over mix or spread the chocolate too much as you don’t want to blend the chocolates together.
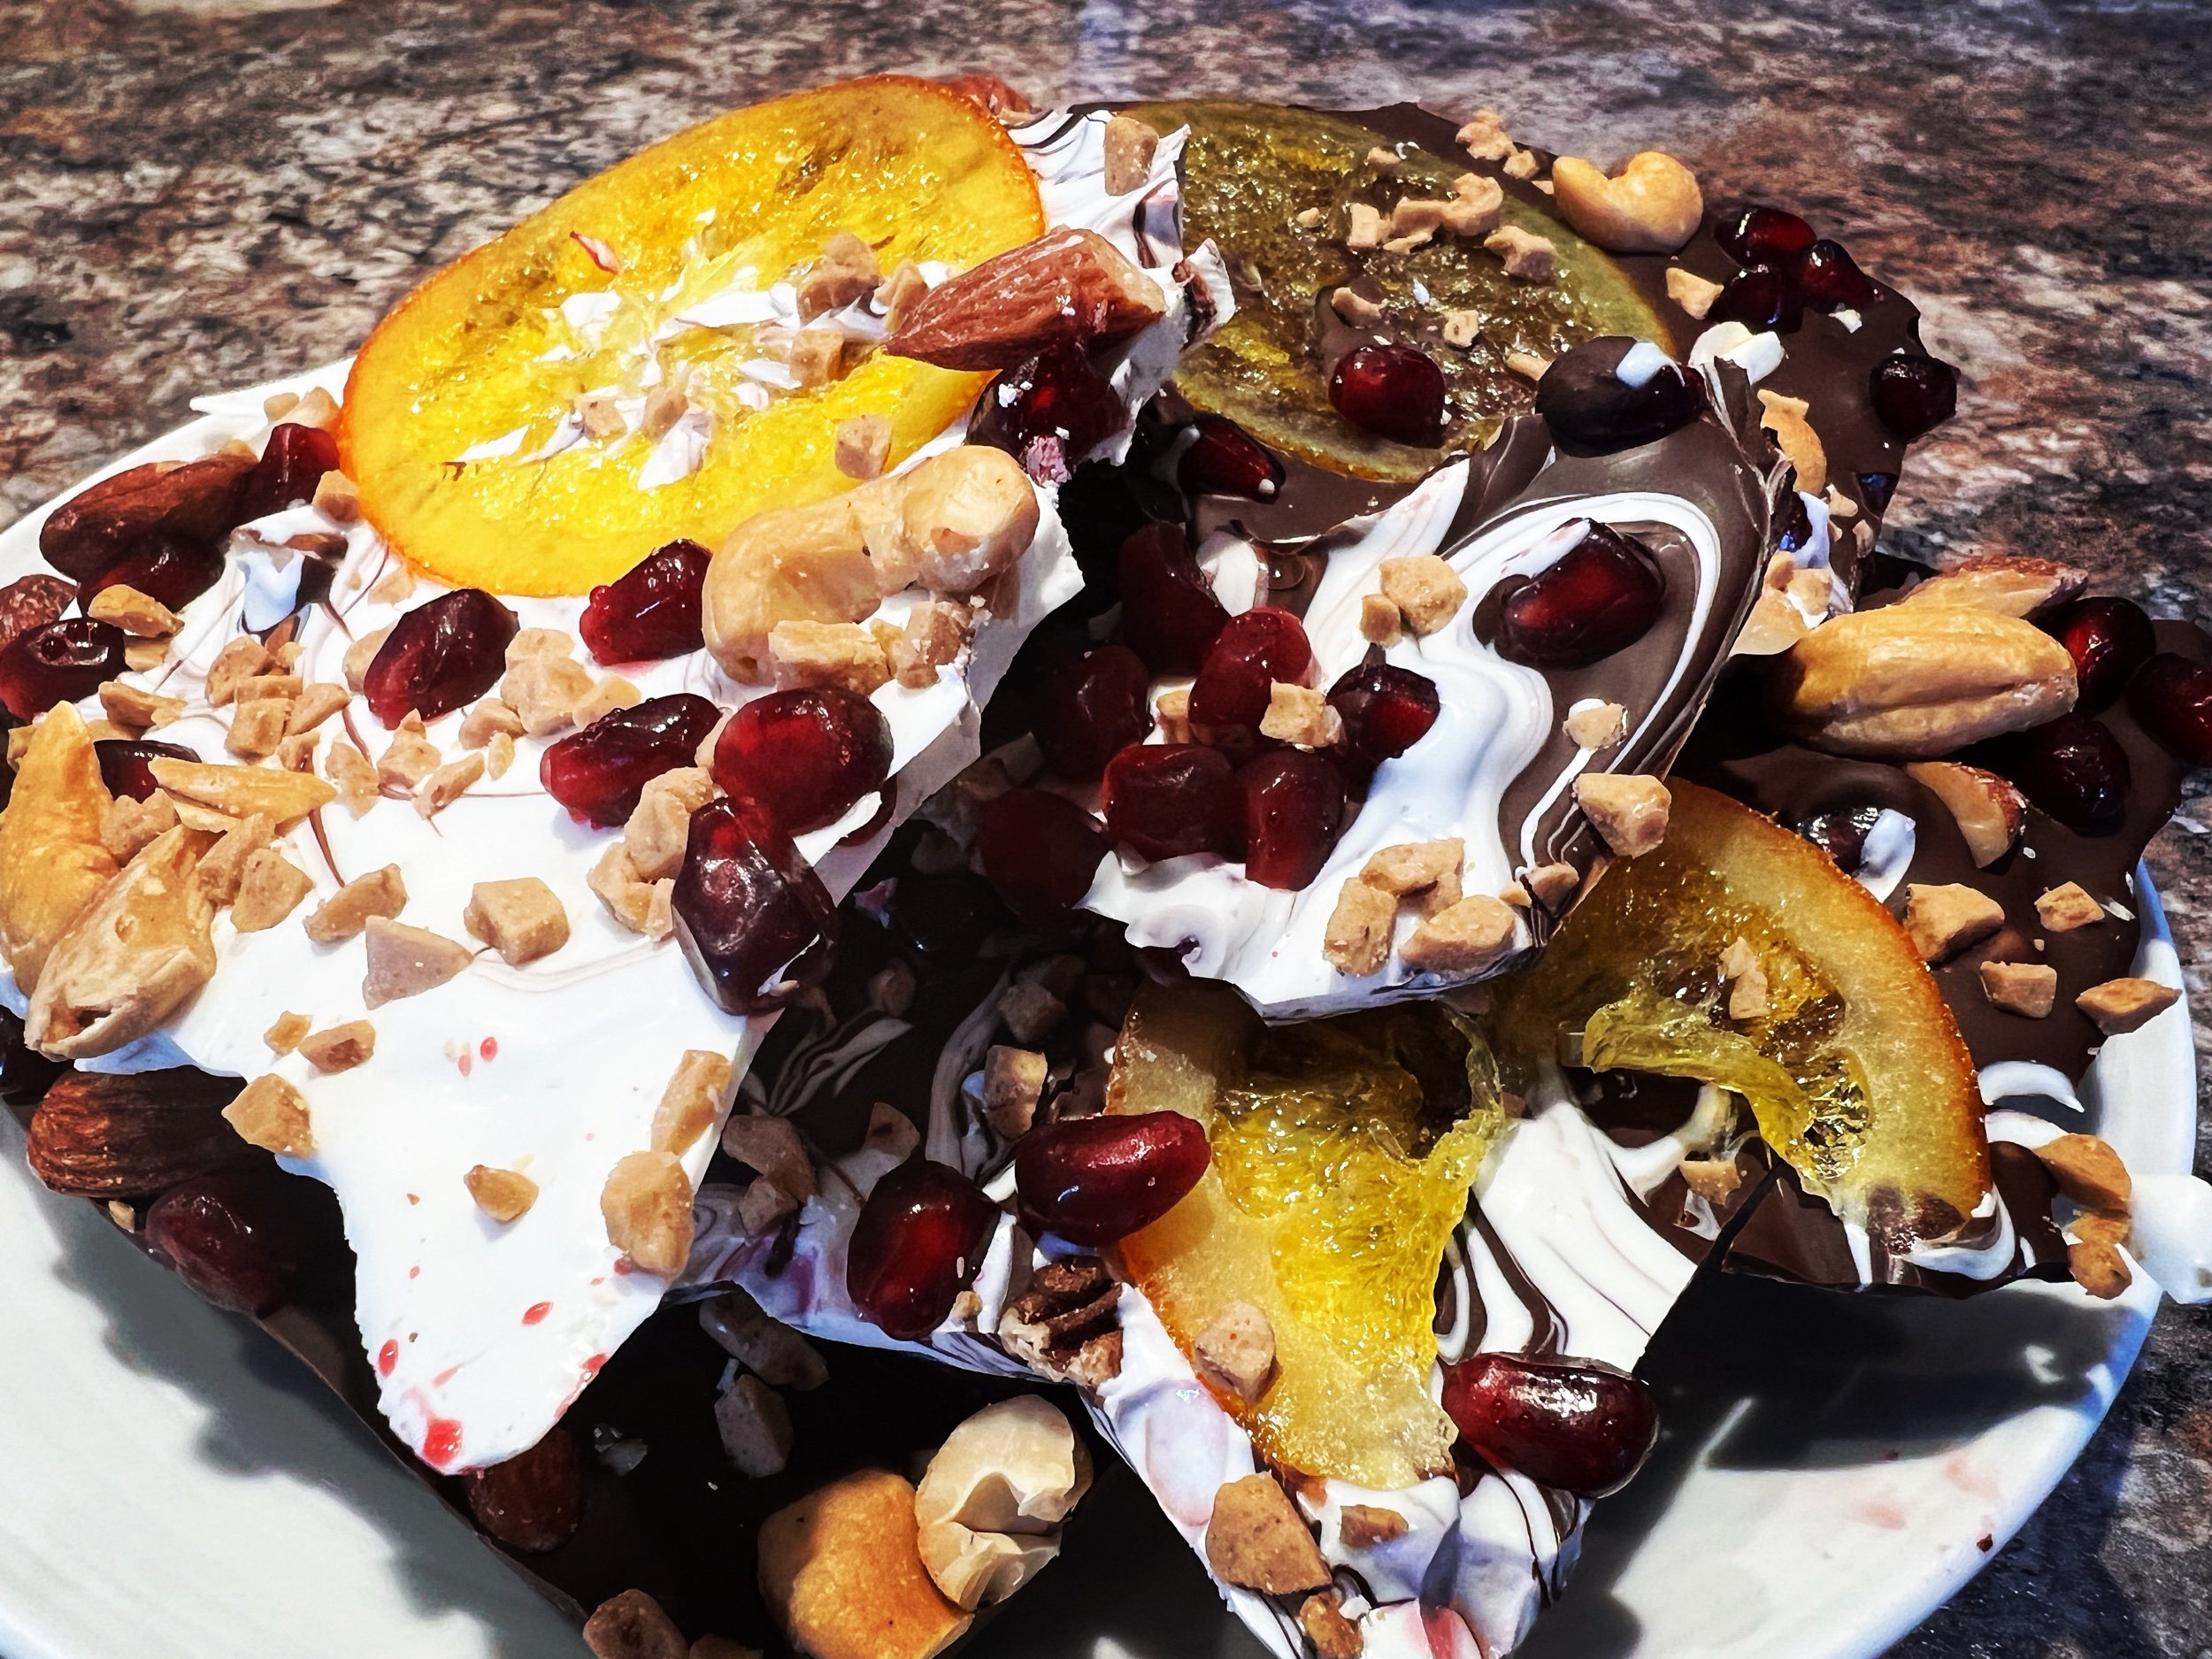
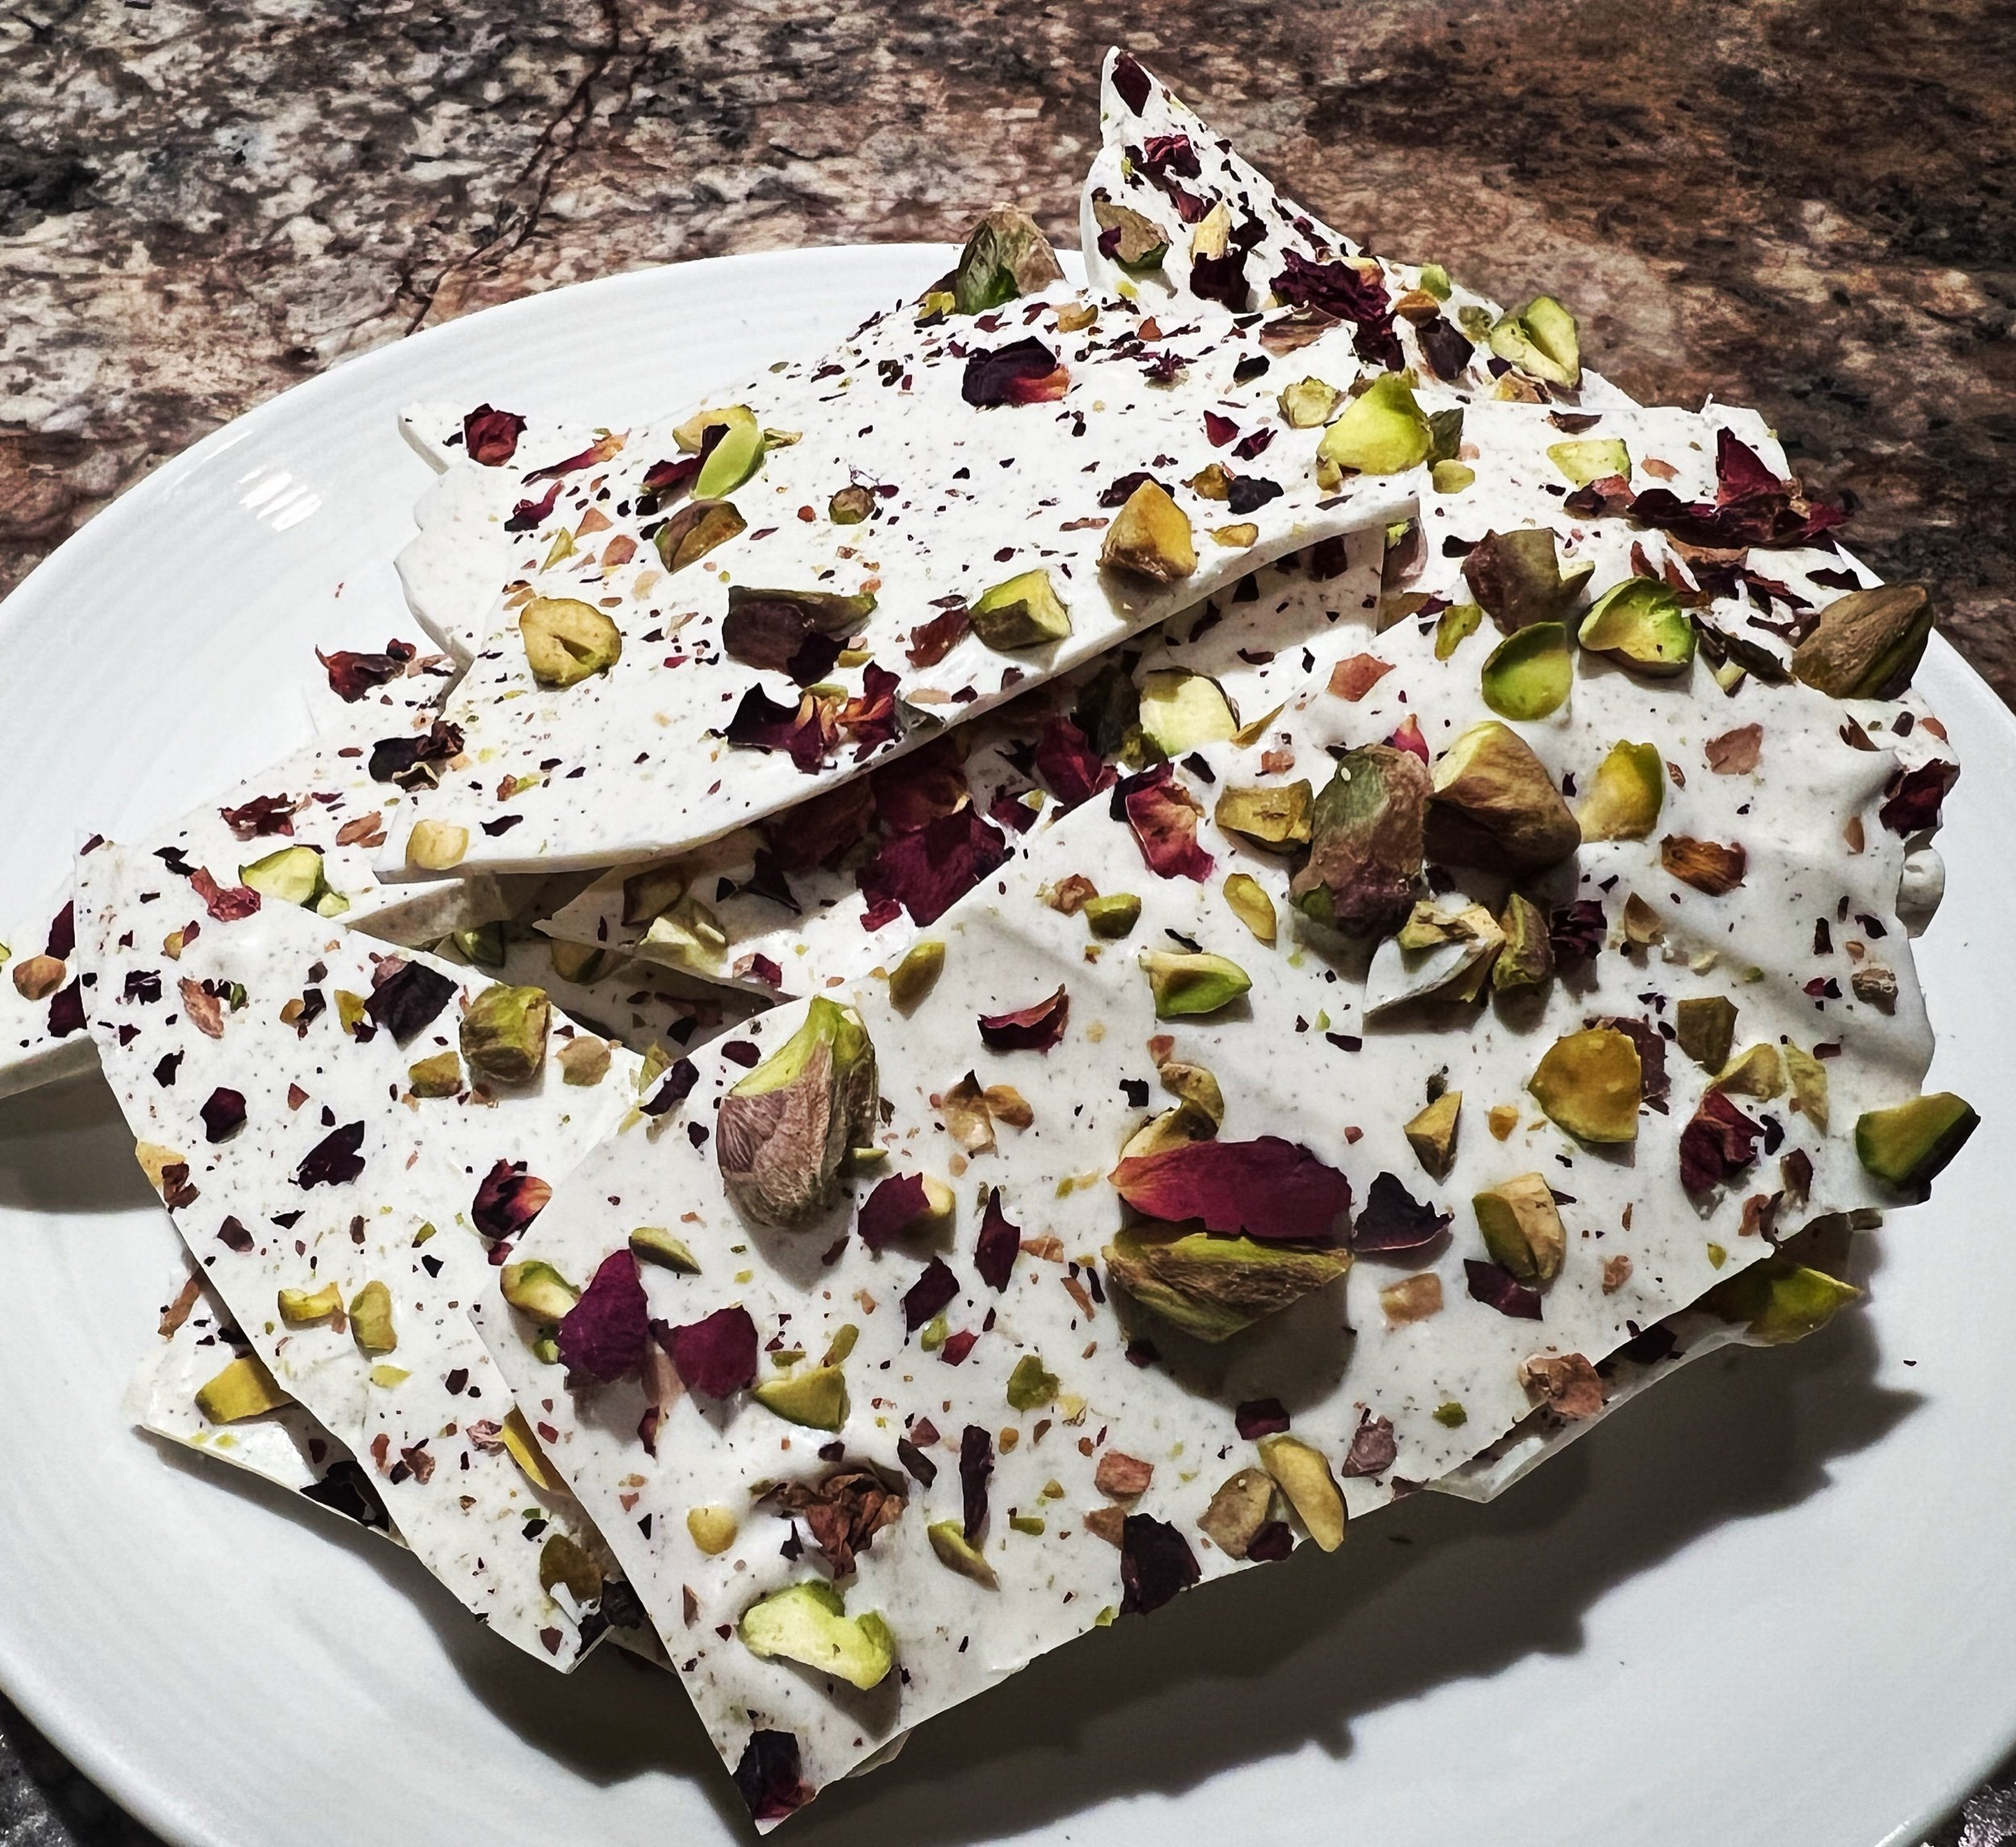
Next, scatter your ingredients over the tray of melted chocolate from ~8-10” high. (Use 1/2 cup to 1 cup of each ingredient based on your preference and flavour choices.)
Once all your toppings have been scattered onto the bark, use the palms of your hands to lightly press down the toppings and ensure they are nestled into the chocolate.
Place the baking tray in the freezer and allow to set for ~1hr.
Remove the cooled chocolate from the freezer. Use the end of a butter knife to press down into the chocolate and allow natural shards to form. (Keep the shards about the size of your palm.)
Keep chilled prior to serving. Enjoy!
fixing seized chocolate
Properly melted chocolate is smooth and silky and a dream to work with, so when things go wrong they tend to go really wrong. Melted chocolate that encounters water (even tiny amounts) seizes and becomes a clumpy mess.
To avoid seizing chocolate, make sure your bowls and utensils are completely dry— stick to silicone spatulas and even avoid wooden spoons that may hold into moisture.
To fix your seized chocolate, add 1 tsp of boiling water to your chocolate mixture and stir the chocolate vigorously until it becomes smooth. Repeat as needed.
Fixing Overheated Chocolate
Transfer the overheated chocolate to a cool bowl then add in a small handful of chocolate melts and stir constantly until fully incorporated. This will help the overheated chocolate to cool and smooth the mixture out.
If the chocolate remains thick or lumpy, add a spoonful of coconut oil or vegetable oil to the mixture and stir until fully incorporated.
If neither method brings your chocolate back to smooth and silky life all isn’t lost— simply set aside the chocolate for future use in other recipes like chocolate chunk cookies.